This guide walks you through the entire process of applying a WordPress theme—from choosing the right one to activating and customizing it. Whether you’re a beginner or experienced user, you’ll find clear, actionable steps to transform your site’s look and feel quickly and safely.
Key Takeaways
- Choose a theme that matches your website’s purpose: Whether it’s a blog, business site, or online store, pick a theme designed for your niche.
- Always preview before activating: Use the live preview feature to see how the theme looks with your content before making it live.
- Install themes safely through the dashboard: Avoid third-party sources when possible to reduce security risks.
- Customize using the WordPress Customizer: Adjust colors, fonts, layouts, and more without touching code.
- Test responsiveness and speed after activation: Ensure your new theme works well on mobile devices and doesn’t slow down your site.
- Use a child theme for major customizations: Protect your changes from being overwritten during theme updates.
- Keep your theme updated: Regular updates improve security, performance, and compatibility.
Introduction: Why Applying a WordPress Theme Matters
Your WordPress theme controls the visual design and layout of your website. It determines everything from font styles and color schemes to page structure and mobile responsiveness. Applying the right theme can boost user experience, improve SEO, and even increase conversions.
In this guide, you’ll learn exactly how to apply a WordPress theme—whether you’re starting fresh or switching from an existing design. We’ll cover installation, activation, customization, and best practices to ensure your site looks professional and performs well. No coding knowledge required!
Step 1: Choose the Right WordPress Theme
Visual guide about How to Apply WordPress Theme
Image source: wpsolver.com
Before you apply any theme, you need to pick one that fits your needs. WordPress offers thousands of free and premium themes, so it’s important to choose wisely.
Consider Your Website’s Purpose
Ask yourself: What is your site for? A blog, portfolio, online store, or business landing page? Themes are often built with specific uses in mind. For example, if you’re running an eCommerce site, look for themes compatible with WooCommerce.
Check Key Features
Look for themes that offer:
– Mobile responsiveness
– Fast loading times
– SEO-friendly code
– Customization options (like header layouts or color pickers)
– Regular updates and support
You can browse thousands of free themes directly in your WordPress dashboard under Appearance > Themes > Add New. For premium themes, reputable marketplaces like ThemeForest, Astra, or Kadence are great places to start.
Preview the Theme
Most themes include a live demo. Click “Preview” to see how it looks with sample content. This helps you visualize how your own content might appear.
Step 2: Install the WordPress Theme
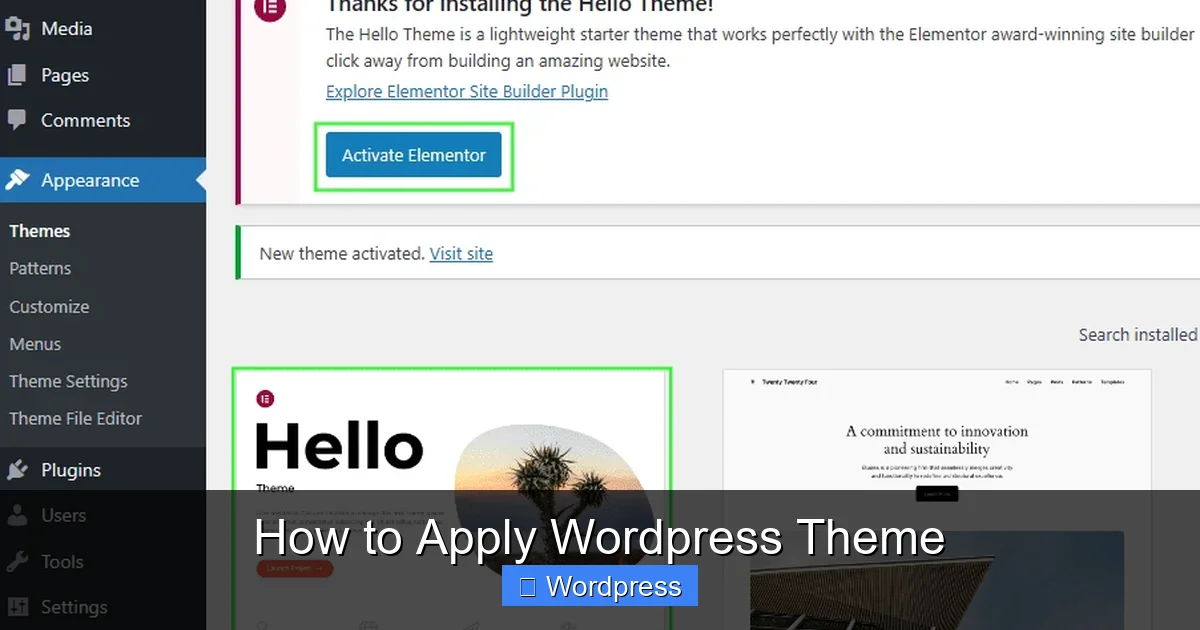
Visual guide about How to Apply WordPress Theme
Image source: help.market.envato.com
Once you’ve chosen a theme, it’s time to install it. There are two main ways: via the WordPress dashboard (for free themes) or by uploading a ZIP file (for premium themes).
Install a Free Theme from the WordPress Directory
- Log in to your WordPress admin dashboard.
- Go to Appearance > Themes.
- Click Add New.
- Use the search bar to find your desired theme (e.g., “Astra” or “Neve”).
- Click Install next to the theme name.
The installation takes just a few seconds. Once complete, you’ll see an “Activate” button.
Upload a Premium or Custom Theme
If you’ve purchased a theme or downloaded one from a third-party site:
- Go to Appearance > Themes > Add New.
- Click Upload Theme.
- Choose the ZIP file from your computer and click Install Now.
Pro Tip: Always download themes from trusted sources. Avoid nulled or pirated themes—they often contain malware.
For detailed instructions on manual installation, check out our guide on how to install WP themes manually.
Step 3: Activate Your New Theme
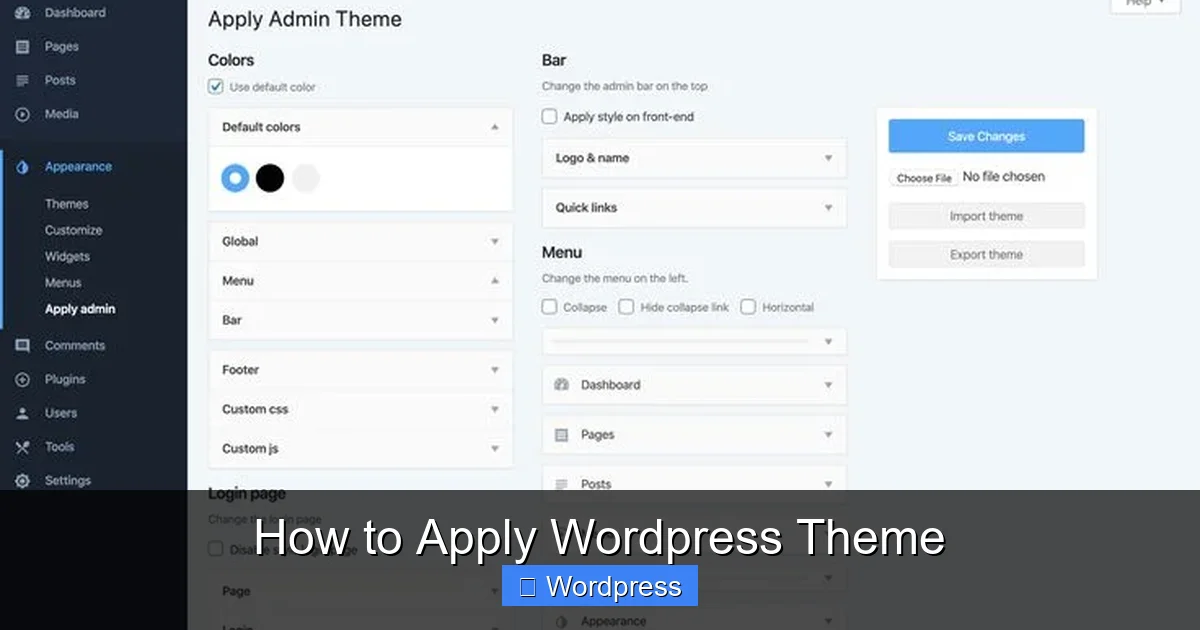
Visual guide about How to Apply WordPress Theme
Image source: i.pinimg.com
After installation, activating your theme is simple—but crucial.
Activate from the Themes Page
- Go to Appearance > Themes.
- Find your newly installed theme.
- Click Activate.
Your site will immediately switch to the new design. Visit your homepage to see the changes.
Use the Live Preview Before Activating
WordPress lets you preview a theme without activating it:
- On the “Add Themes” page, hover over a theme and click Preview.
- Use the left sidebar to navigate your site as it would appear with that theme.
- If you like what you see, click Activate & Publish at the top.
This is a safe way to test drive a theme without affecting live visitors.
Step 4: Customize Your Theme
Most modern WordPress themes are highly customizable. You don’t need to touch code to make meaningful changes.
Access the WordPress Customizer
Go to Appearance > Customize. This opens the live customizer, where you can tweak settings and see results in real time.
Common customization options include:
– Site identity (logo, title, tagline)
– Colors and backgrounds
– Fonts and typography
– Header and footer layouts
– Widget areas
– Homepage settings
Set Up Your Homepage
By default, WordPress shows your latest posts on the homepage. But many themes let you set a static page instead:
- In the Customizer, go to Homepage Settings.
- Select “A static page” and choose your desired homepage and blog page.
- Click Publish.
Add Widgets and Menus
Widgets add functionality to sidebars, footers, and other widget-ready areas. Go to Appearance > Widgets to drag and drop elements like search bars, recent posts, or social icons.
Menus control your site’s navigation. Visit Appearance > Menus to create or edit your main menu.
Use a Page Builder (Optional)
Many themes work seamlessly with page builders like Elementor, Beaver Builder, or Gutenberg blocks. These tools let you design custom layouts visually. If you’re interested in building themes with Elementor, read our guide on how to create a WordPress theme with Elementor.
Step 5: Test and Optimize Your Site
After applying your theme, don’t skip testing!
Check Mobile Responsiveness
Open your site on a phone or tablet—or use Chrome’s DevTools (F12 > toggle device toolbar). Make sure text is readable, buttons are tappable, and images scale properly.
Test Loading Speed
Use tools like Google PageSpeed Insights or GTmetrix to check performance. A slow theme can hurt SEO and user experience. If your site is sluggish, consider optimizing images, using caching plugins, or switching to a lighter theme. For tips on speed and SEO, see our article on the best WordPress theme for SEO and speed.
Verify Functionality
Click through all pages, forms, and links. Ensure contact forms work, menus function, and plugins (like WooCommerce or Yoast SEO) aren’t broken.
Troubleshooting Common Issues
Sometimes, applying a new theme causes problems. Here’s how to fix the most common ones.
White Screen After Activation
This usually means a PHP error. Try:
– Renaming the theme folder via FTP to force WordPress to revert to a default theme.
– Checking for plugin conflicts by deactivating all plugins before switching themes.
Missing Widgets or Menus
Some themes use different widget areas. Re-add your widgets under Appearance > Widgets. If menus disappear, recreate them in Appearance > Menus.
Design Looks Broken
Clear your browser cache and any caching plugins. If issues persist, check if your theme requires specific plugins (many do—look for a “Required Plugins” notice after activation).
Custom CSS Not Working
If you’ve added custom CSS, ensure it’s entered in the right place: Appearance > Customize > Additional CSS. For advanced styling, learn the best way to add CSS in WordPress.
Best Practices for Long-Term Success
Applying a theme is just the beginning. Follow these tips to keep your site running smoothly:
– Use a child theme if you plan major customizations. This protects your changes during updates. Learn more in our guide on what is a child theme in WordPress.
– Keep your theme updated. Outdated themes can have security vulnerabilities. Visit Dashboard > Updates regularly.
– Back up your site before making big changes. Use plugins like UpdraftPlus or Jetpack.
– Monitor performance after switching themes. Use analytics to track bounce rates and page speed.
Conclusion
Applying a WordPress theme is one of the easiest ways to transform your website’s appearance and functionality. By following this guide—choosing wisely, installing safely, customizing thoughtfully, and testing thoroughly—you’ll create a professional, fast, and user-friendly site.
Remember, your theme is the foundation of your design. Take time to pick the right one, and don’t hesitate to experiment in preview mode. With WordPress’s flexible tools, you have everything you need to build a stunning site—no coding required.