This guide shows you how to code a WordPress blog section with Bolt.new, a powerful AI-assisted development tool. You’ll learn to set up your environment, create custom templates, and integrate dynamic content—all without deep coding knowledge.
Key Takeaways
- Bolt.new simplifies WordPress development: It combines AI code generation with real-time preview, making it ideal for building blog sections quickly.
- You don’t need to be a coding expert: With Bolt.new’s intuitive interface, even beginners can create functional WordPress templates.
- Custom blog templates enhance user experience: Tailored layouts improve readability and engagement on your site.
- Dynamic content integration is seamless: Bolt.new helps connect your template to WordPress’s database for live posts and metadata.
- Always use a child theme: This protects your customizations during theme updates—learn why in our guide on what is a child theme in WordPress.
- Test thoroughly before going live: Use staging sites and browser tools to catch errors early.
- Bolt.new works best with modern themes: Ensure your base theme supports full site editing or classic template hierarchy.
Introduction: Why Use Bolt.new for Your WordPress Blog?
If you’re building a WordPress blog, you might think you need advanced PHP skills or expensive page builders. But with Bolt.new—an AI-powered coding environment—you can design and code a custom blog section faster than ever. Whether you’re a developer or a blogger with basic tech knowledge, this tool streamlines the process by generating clean, functional code while letting you preview changes instantly.
In this guide, you’ll learn how to use Bolt.new to create a fully functional WordPress blog section from scratch. We’ll cover setup, template creation, dynamic content integration, styling, and troubleshooting. By the end, you’ll have a professional-looking blog that pulls real posts from your WordPress database—no plugins required.
Step 1: Set Up Your Development Environment
Before diving into code, make sure your workspace is ready. Bolt.new runs in your browser, so you don’t need to install software locally—but you do need access to your WordPress site.
Prerequisites
- A working WordPress installation (local or live)
- Access to your theme files (via FTP or hosting file manager)
- A child theme activated (recommended for safety—learn more about how to apply a WordPress theme if needed)
- Bolt.new account (free at bolt.new)
Open Bolt.new and Start a New Project
Go to bolt.new and click “Start Coding.” Choose “WordPress” as your project type if prompted. Bolt.new will initialize a sandboxed environment with HTML, CSS, JavaScript, and PHP support—perfect for WordPress development.
Step 2: Create a Custom Blog Template File
WordPress uses template files to control how content is displayed. For your blog section, we’ll create a custom template that lists recent posts with titles, excerpts, dates, and featured images.
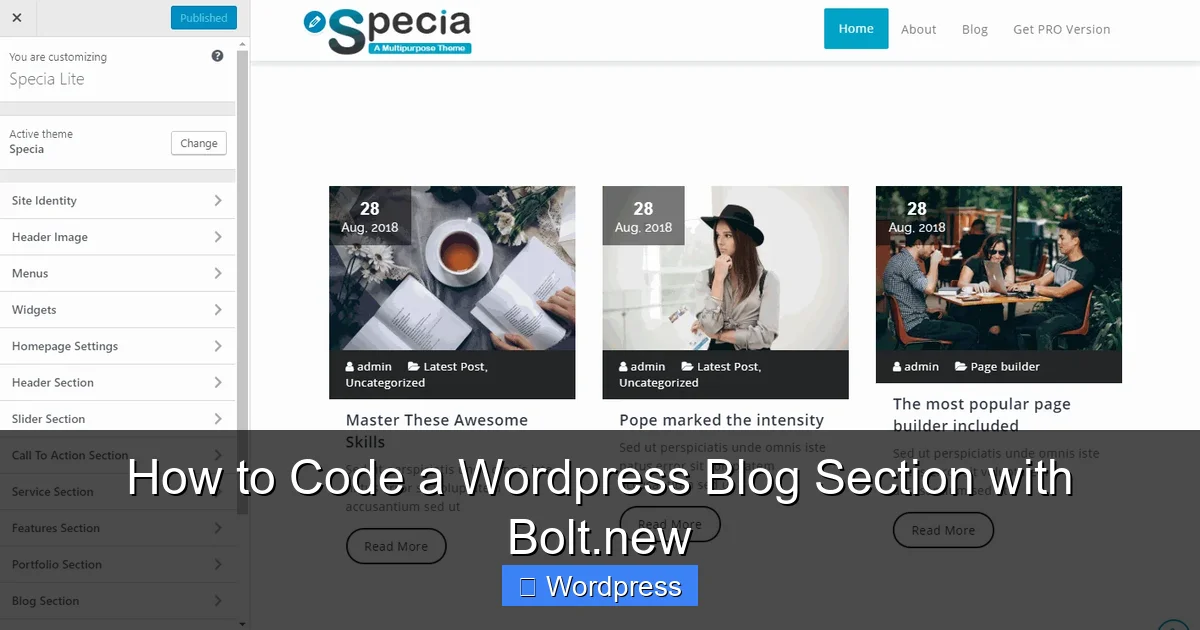
Visual guide about How to Code a WordPress Blog Section with Bolt.new
Image source: docs.speciatheme.com
Name Your Template File
In Bolt.new’s file explorer, create a new file called template-blog.php. This follows WordPress naming conventions and makes it easy to assign later.
Add the Template Header
At the top of template-blog.php, add this PHP comment block so WordPress recognizes it as a template:
<?php
/*
Template Name: Custom Blog Section
*/
?>
Build the Loop Structure
Inside the same file, add the WordPress loop to fetch and display posts:
<?php
$args = array(
    'post_type' => 'post',
    'posts_per_page' => 6
);
$query = new WP_Query($args);

if ($query->have_posts()) :
    while ($query->have_posts()) : $query->the_post(); ?>
        <article class="blog-post">
            <?php if (has_post_thumbnail()) : ?>
                <a href="<?php the_permalink(); ?>">
                    <?php the_post_thumbnail('medium'); ?>
                </a>
            <?php endif; ?>
            <h2><a href="<?php the_permalink(); ?>"><?php the_title(); ?></a></h2>
            <p class="post-meta">Posted on <?php the_time('F j, Y'); ?> by <?php the_author(); ?></p>
            <div class="excerpt"><?php the_excerpt(); ?></div>
        </article>
    <?php endwhile;
    wp_reset_postdata();
else : ?>
    <p>No posts found.</p>
<?php endif; ?>
This code creates a clean, responsive layout for each blog post. Bolt.new’s AI can help refine this further—just describe what you want (e.g., “add pagination” or “show category tags”), and it will suggest improvements.
Step 3: Style Your Blog Section
Now let’s make it look good! Create a new file in Bolt.new called blog-styles.css and link it to your template.
Add Basic CSS
.blog-post {
    margin-bottom: 2rem;
    padding: 1.5rem;
    border: 1px solid #e0e0e0;
    border-radius: 8px;
    background: #fff;
}

.blog-post h2 {
    margin-top: 0;
    font-size: 1.5rem;
}

.post-meta {
    font-size: 0.9rem;
    color: #666;
    margin-bottom: 0.5rem;
}

.excerpt {
    line-height: 1.6;
}
Link CSS to Your Template
In template-blog.php, add this line inside the <head> section (or use wp_enqueue_style in functions.php for production):
<link rel="stylesheet" href="<?php echo get_stylesheet_directory_uri(); ?>/blog-styles.css">
Pro tip: For better performance, consider adding CSS directly via your child theme’s style.css or using the best way to add CSS in WordPress.
Step 4: Assign the Template to a Page
Your template is ready—now tell WordPress where to use it.
Create a New Page in WordPress
Go to your WordPress dashboard → Pages → Add New. Title it “Blog” or “News.”
Select Your Custom Template
In the Page Attributes box (right sidebar), choose “Custom Blog Section” from the Template dropdown. Publish the page.
View Your Live Blog
Visit the page on your site. You should see your styled blog posts pulled directly from your WordPress database!
Step 5: Enhance with Bolt.new’s AI Features
Bolt.new isn’t just a code editor—it’s an AI collaborator. Use it to improve your blog section:
- Ask for responsive design: Type “Make this blog section mobile-friendly” and Bolt.new will add media queries.
- Add search or filters: Request “Add a category filter dropdown” and it generates the PHP and JavaScript.
- Optimize performance: Ask “Lazy load featured images” for faster page speeds.
Troubleshooting Common Issues
Even with Bolt.new, you might hit snags. Here’s how to fix them:
Posts Not Showing?
- Check if you have published posts in WordPress.
- Verify your
WP_Queryarguments—especiallypost_status(should be ‘publish’). - Ensure your template is assigned to the correct page.
Styles Not Applying?
- Confirm the CSS file path is correct.
- Clear your browser and WordPress cache.
- Use browser dev tools to inspect elements and check for conflicts.
Bolt.new Code Not Working in WordPress?
- Remember: Bolt.new generates raw code. You must copy it into your actual theme files—not run it inside Bolt.new forever.
- Always test in a staging environment first. If something breaks, you can deactivate your theme safely and revert.
Conclusion: Build Smarter, Not Harder
Coding a WordPress blog section doesn’t have to be intimidating. With Bolt.new, you combine the power of AI-assisted development with WordPress’s flexibility to create beautiful, functional blog layouts in minutes—not hours. From setting up your template to styling and troubleshooting, this guide gives you everything you need to get started.
Remember to always use a child theme, test your changes, and leverage Bolt.new’s AI to refine your design. Your readers (and your future self) will thank you for a clean, fast, and engaging blog experience.