This guide walks you through setting up a local WordPress site using XAMPP, a free and easy-to-use tool. You’ll learn how to install XAMPP, configure a local server, and run WordPress—all on your own computer—without needing internet or a hosting provider.
Key Takeaways
- XAMPP creates a local server environment: It allows you to run WordPress on your computer for development and testing.
- No internet or hosting required: Everything runs locally, making it safe and private for experimentation.
- Step-by-step setup is beginner-friendly: Even if you’re new to WordPress, this guide makes installation simple.
- Useful for theme and plugin testing: Safely test changes before going live on a real website.
- Database management via phpMyAdmin: Easily manage your WordPress database through XAMPP’s built-in tool.
- Free and cross-platform: XAMPP works on Windows, macOS, and Linux at no cost.
- Great for learning WordPress: Ideal for beginners who want to explore WordPress features without risk.
Introduction
Creating a local WordPress site using XAMPP is one of the best ways to learn, test, or develop WordPress websites without affecting a live site. Whether you’re a beginner exploring WordPress or a developer testing themes and plugins, running WordPress locally gives you full control and privacy. In this guide, you’ll learn how to install XAMPP, set up a local server, and install WordPress—all on your own computer.
This process is completely free, requires no internet connection after setup, and takes less than 30 minutes. By the end, you’ll have a fully functional WordPress site running on your machine, accessible only to you.
What You’ll Need
Before we begin, make sure you have the following:
Visual guide about How to Create a Local WordPress Site Using Xampp
Image source: i0.wp.com
- A computer running Windows, macOS, or Linux
- At least 2GB of RAM (4GB recommended)
- Internet connection (only for downloading files)
- Administrator access to your computer
- Basic familiarity with file management
Step 1: Download and Install XAMPP
XAMPP is a free, open-source software package that includes Apache (web server), MySQL (database), PHP, and phpMyAdmin—everything you need to run WordPress locally.
Download XAMPP
Go to the official XAMPP website at apachefriends.org and download the version compatible with your operating system. Choose the PHP 8.x version for best compatibility with modern WordPress.
Install XAMPP
Run the installer and follow the setup wizard. When prompted, select the following components:
- Apache
- MySQL
- PHP
- phpMyAdmin
You can skip Perl and Mercury unless you need them. Choose an installation folder (e.g., C:\xampp on Windows) and complete the installation.
Start XAMPP Control Panel
After installation, open the XAMPP Control Panel. On Windows, you’ll find it in the Start menu. On macOS, open the XAMPP application from your Applications folder.
Step 2: Start Apache and MySQL Services
To run WordPress, you need a web server (Apache) and a database (MySQL). XAMPP makes this easy.
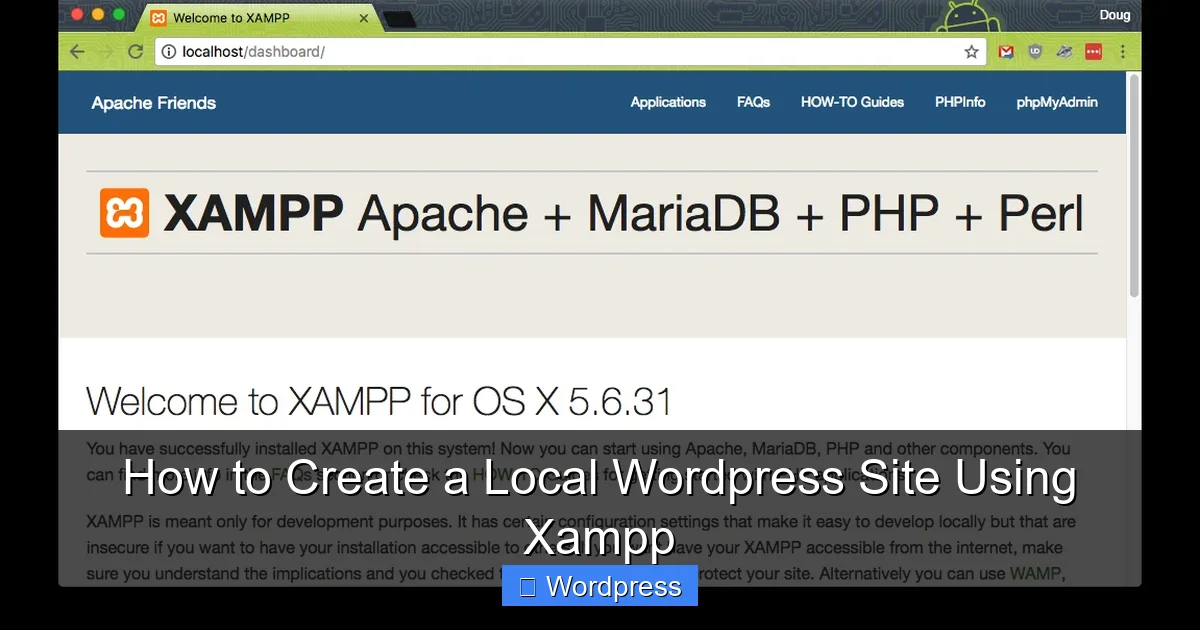
Visual guide about How to Create a Local WordPress Site Using Xampp
Image source: blog.dougdragon.com
Launch Services
In the XAMPP Control Panel, click the Start button next to Apache and MySQL. Wait a few seconds for both services to turn green, indicating they’re running.
Test the Server
Open your web browser and go to http://localhost. You should see the XAMPP welcome page. If you do, your local server is working correctly.
Step 3: Create a Database for WordPress
WordPress requires a MySQL database to store content, settings, and user data. We’ll create one using phpMyAdmin.
Open phpMyAdmin
In your browser, go to http://localhost/phpmyadmin. This opens the phpMyAdmin interface, where you can manage databases.
Create a New Database
Click on Databases at the top. In the “Create database” field, type wordpress_db (or any name you prefer). Choose utf8mb4_general_ci as the collation and click Create.
You now have a blank database ready for WordPress.
Step 4: Download WordPress
Next, download the latest version of WordPress from the official site.
Get WordPress Files
Visit wordpress.org/download and download the latest ZIP file. Save it to your desktop or downloads folder.
Extract WordPress
Extract the ZIP file. You’ll get a folder named wordpress. Copy this entire folder.
Step 5: Move WordPress to XAMPP’s Web Directory
WordPress needs to be placed where your local server can access it—inside XAMPP’s htdocs folder.
Locate htdocs
Navigate to your XAMPP installation folder (e.g., C:\xampp\htdocs on Windows). Paste the wordpress folder here.
Rename the Folder (Optional)
You can rename the folder to something like mysite for easier access. This will affect your local URL (e.g., http://localhost/mysite).
Step 6: Configure WordPress
Now it’s time to set up WordPress by connecting it to your database.
Start the Installation
In your browser, go to http://localhost/wordpress (or your renamed folder). You’ll see the WordPress installation screen.
Enter Database Details
Fill in the following information:
- Database Name:
wordpress_db(or whatever you named it) - Username:
root - Password: Leave blank (XAMPP’s default MySQL password is empty)
- Database Host:
localhost - Table Prefix:
wp_(you can change this for security)
Click Submit, then Run the installation.
Set Up Site Information
On the next screen, enter your site details:
- Site Title: e.g., “My Local WordPress Site”
- Username: Choose a secure admin username (not “admin”)
- Password: Create a strong password
- Your Email: Use a real email (for password recovery)
Click Install WordPress.
Step 7: Log In to Your Local WordPress Site
Once installation is complete, you’ll see a success message. Click Log In to access your WordPress dashboard.
Access the Dashboard
Go to http://localhost/wordpress/wp-admin and log in with your username and password. You’re now inside your local WordPress admin area.
Explore Your Site
Visit the front end by going to http://localhost/wordpress. You’ll see a default WordPress site with the Twenty Twenty-Four theme. You can now start customizing, installing themes, or testing plugins.
Troubleshooting Common Issues
Even with careful setup, you might run into problems. Here are solutions to common issues:
Apache or MySQL Won’t Start
If a service fails to start, it’s often due to port conflicts. Common culprits include Skype (using port 80) or other web servers. To fix:
- Close applications that use port 80 or 443
- In XAMPP, click Config next to Apache, then Apache (httpd.conf)
- Change
Listen 80toListen 8080 - Restart Apache and access via
http://localhost:8080
“Error Establishing a Database Connection”
This means WordPress can’t connect to your database. Check:
- MySQL is running in XAMPP
- Database name, username, and password are correct
- The database was created in phpMyAdmin
- You didn’t change the default MySQL password
White Screen or “Internal Server Error”
This usually indicates a PHP error. Try:
- Check file permissions in the
htdocsfolder - Ensure all WordPress files were copied correctly
- Restart Apache and MySQL
Tips for Using Your Local WordPress Site
- Backup regularly: Copy the entire
wordpressfolder and export your database via phpMyAdmin. - Test themes and plugins safely: Try new designs or tools without risking a live site. For help managing themes, check out how to apply a WordPress theme.
- Use a child theme for customizations: Learn what is a child theme in WordPress to safely modify themes.
- Experiment with settings: Try different permalinks, plugins, or user roles.
- Move to live hosting later: When ready, use migration plugins to move your site online.
Conclusion
Creating a local WordPress site using XAMPP is a smart, safe, and free way to learn and develop WordPress. You now have a fully functional WordPress installation running on your computer, perfect for testing themes, plugins, or building a site before going live. With XAMPP, you control the environment—no hosting fees, no downtime, and no risk.
Whether you’re a beginner or a developer, this setup empowers you to experiment freely. Once you’re comfortable, you can explore advanced topics like how to install WP themes manually or the best way to add CSS in WordPress to customize your site further.
Now that your local WordPress site is up and running, the possibilities are endless. Happy building!