This guide shows you how to create a footer in WordPress using built-in tools, theme options, or custom code. Whether you’re a beginner or advanced user, you’ll learn to customize your site’s footer with ease.
Key Takeaways
- Use the WordPress Customizer: Most themes allow footer editing via Appearance > Customize, making it easy to add text, links, or widgets.
- Widgetize your footer: Add functionality by using footer widget areas to display menus, social icons, or contact info.
- Edit theme files for full control: Advanced users can modify footer.php in a child theme to customize layout and code.
- Use page builders like Elementor: Drag-and-drop tools let you design dynamic footers without coding.
- Keep it responsive and clean: Ensure your footer looks great on all devices and doesn’t slow down your site.
- Backup before editing: Always back up your site before making changes to theme files to avoid breaking your website.
How to Create Footer in WordPress
Creating a footer in WordPress might seem tricky at first, but it’s actually quite simple—once you know the right tools and methods. The footer is the section at the bottom of every page on your website. It often includes copyright text, navigation links, social media icons, and contact information. A well-designed footer improves user experience and helps with SEO.
In this guide, you’ll learn how to create a footer in WordPress using different methods: through the WordPress Customizer, widgets, theme settings, page builders, and even custom code. Whether you’re using a free theme or a premium one, these steps will help you build a professional-looking footer in no time.
Method 1: Using the WordPress Customizer
The easiest way to edit your footer is through the WordPress Customizer. Most modern themes support this method, and it requires no coding.

Visual guide about How to Create Footer in WordPress
Image source: videos.files.wordpress.com
Step 1: Access the Customizer
Go to your WordPress dashboard. Click on Appearance > Customize. This opens the live preview editor where you can see changes in real time.
Step 2: Find Footer Settings
Look for a section labeled Footer, Footer Settings, or Site Identity. Some themes place footer options under “Widgets” or “Additional CSS.”
Step 3: Edit Footer Text
Many themes let you change the copyright text directly. For example, you might see a field like “Copyright Text” where you can type:
- © 2024 Your Website Name. All rights reserved.
You can also add links, such as a privacy policy or terms of service.
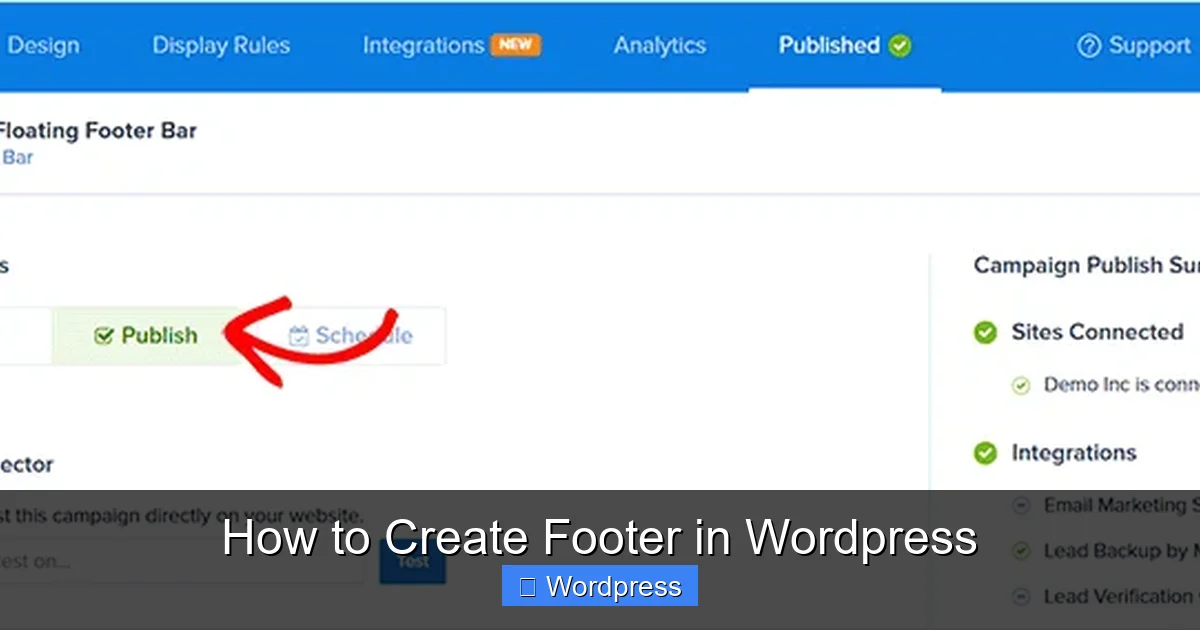
Step 4: Publish Changes
Once you’re happy with the look, click Publish to save your changes. Your new footer will appear on all pages.
Tip: If you don’t see footer options, your theme might not support this feature. In that case, try the widget method below.
Method 2: Using Footer Widgets
Many WordPress themes include widget-ready footer areas. This lets you add content like menus, social icons, or contact forms without touching code.
Visual guide about How to Create Footer in WordPress
Image source: wpbeginner.com
Step 1: Go to Widgets
In your dashboard, navigate to Appearance > Widgets. Look for areas named Footer 1, Footer 2, or Footer Sidebar.
Step 2: Add Widgets
Drag and drop widgets into the footer areas. Common choices include:
- Text Widget: Add custom text, HTML, or shortcodes.
- Custom Menu: Link to important pages like About, Contact, or Blog.
- Social Icons: Use a plugin or widget to display Facebook, Twitter, etc.
- Search Bar: Let users search your site from the footer.
Step 3: Arrange and Style
You can usually have 1–4 footer columns. Arrange widgets to create a clean layout. For example:
- Column 1: About Us (text widget)
- Column 2: Quick Links (menu widget)
- Column 3: Follow Us (social icons)
Some themes let you adjust column width or spacing in the Customizer.
Method 3: Editing Theme Files (Advanced)
If you need full control, you can edit the footer.php file. Always use a child theme to avoid losing changes when updating your theme. Learn more about what is a child theme in WordPress to stay safe.
Visual guide about How to Create Footer in WordPress
Image source: wpbeginner.com
Step 1: Create a Child Theme
If you haven’t already, create a child theme. This protects your customizations. You can use plugins like “Child Theme Configurator” or follow our guide on how to create a WordPress theme with Elementor for visual control.
Step 2: Access footer.php
Go to Appearance > Theme File Editor. From the right sidebar, select footer.php under your child theme.
Step 3: Customize the Code
The default footer might look like this:
<footer id="colophon" class="site-footer">
<div class="site-info">
© <?php echo date('Y'); ?> Your Site Name
</div>
</footer>
You can replace this with your own HTML. For example:
<footer class="custom-footer">
<div class="footer-columns">
<div>
<h4>About Us</h4>
<p>We help people build amazing websites.</p>
</div>
<div>
<h4>Quick Links</h4>
<ul>
<li><a href="/about">About</a></li>
<li><a href="/contact">Contact</a></li>
</ul>
</div>
</div>
<p class="copyright">© <?php echo date('Y'); ?> My Website. All rights reserved.</p>
</footer>
Step 4: Add Custom CSS
Style your footer using CSS. Go to Appearance > Customize > Additional CSS and add rules like:
.custom-footer {
  background-color: #222;
  color: #fff;
  padding: 40px 20px;
  text-align: center;
}
.footer-columns {
  display: flex;
  justify-content: center;
  gap: 30px;
  margin-bottom: 20px;
}
For more on styling, check out our guide on the best way to add CSS in WordPress.
Method 4: Using a Page Builder (Elementor, Gutenberg)
Page builders make footer design visual and flexible. Elementor, for example, lets you create a footer template and assign it site-wide.
Step 1: Install Elementor
If you haven’t already, install and activate Elementor from the WordPress plugin directory.
Step 2: Create a Footer Template
Go to Templates > Theme Builder. Click Add New and select Footer.
Step 3: Design Your Footer
Use drag-and-drop widgets to build your layout. Add headings, text, buttons, images, or shortcodes. You can even insert dynamic content like the current year.
Step 4: Set Display Conditions
After designing, click Publish. Set the display condition to “Entire Site” so the footer appears on all pages.
Note: Some themes may override Elementor footers. If this happens, check your theme settings or use a plugin like “Elementor Header & Footer Builder.”
Troubleshooting Common Footer Issues
Even with the best plans, things can go wrong. Here are quick fixes:
- Footer not updating? Clear your cache (browser and plugin). Some caching plugins delay changes.
- Widgets not appearing? Make sure your theme supports footer widgets. Check Appearance > Widgets for available areas.
- Footer looks broken on mobile? Use responsive design in your CSS. Test on different screen sizes.
- Changes disappeared after update? You likely edited the parent theme. Always use a child theme to preserve customizations.
Best Practices for WordPress Footers
A great footer does more than look good—it supports your site’s goals. Follow these tips:
- Keep it simple: Don’t overcrowd with too many links or ads.
- Include essential links: Privacy policy, terms, sitemap, and contact page.
- Use consistent branding: Match colors and fonts to your header and overall design.
- Add a copyright notice: Protect your content with “© [Year] [Site Name].”
- Optimize for speed: Avoid heavy scripts or images in the footer.
- Make it accessible: Use proper contrast and readable font sizes.
Conclusion
Now you know how to create a footer in WordPress using multiple methods—from the Customizer to code. Whether you’re using widgets, a page builder, or editing theme files, the key is to choose the method that fits your skill level and design needs.
Remember to always back up your site before making changes, and use a child theme when editing code. A well-crafted footer improves navigation, builds trust, and enhances your site’s professionalism. Start customizing yours today!