This guide shows you how to edit footer in WordPress using built-in tools, theme options, or custom code. Whether you’re a beginner or experienced user, you’ll find clear, step-by-step instructions to customize your site’s footer with confidence.
Key Takeaways
- Multiple editing methods: You can edit your footer via the WordPress Customizer, widget areas, or by modifying theme files directly.
- Use child themes for safety: Always use a child theme when editing code to avoid losing changes during updates.
- Widgets simplify customization: Most themes allow footer editing through widgetized areas—no coding required.
- CSS enhances appearance: Use custom CSS to style your footer’s colors, fonts, and layout for a professional look.
- Backup before changes: Always back up your site before making structural or code-level edits.
- Theme matters: Some themes offer built-in footer editors, while others require manual tweaks—check your theme’s documentation.
Introduction: Why Edit Your WordPress Footer?
The footer is one of the most overlooked parts of a website—but it’s also one of the most important. It often contains vital links like privacy policies, contact info, social media icons, copyright notices, and even newsletter signup forms. Editing your footer helps improve user experience, boost credibility, and keep your site compliant with legal requirements.
In this guide, you’ll learn how to edit footer in WordPress using several reliable methods. Whether you’re using a block-based theme like Twenty Twenty-Four or a classic theme with widget support, we’ll cover everything from beginner-friendly tools to advanced code tweaks. By the end, you’ll be able to confidently customize your footer to match your brand and goals.
Method 1: Edit Footer Using the WordPress Customizer
The WordPress Customizer is the easiest way to make visual changes without touching any code. Many modern themes support footer editing directly through this tool.
Visual guide about How to Edit Footer in WordPress
Image source: lh5.googleusercontent.com
Step 1: Access the Customizer
Log in to your WordPress dashboard. Go to Appearance > Customize. This opens the live preview interface where you can see changes in real time.
Step 2: Locate Footer Settings
Look for a section labeled Footer, Site Identity, or Widgets. Depending on your theme, options may vary. For example:
- Themes like Astra or GeneratePress have dedicated “Footer” panels.
- Block themes (e.g., Twenty Twenty-Three) use the Footer block in the Site Editor (more on that below).
Step 3: Modify Footer Content
You can usually change:
- Copyright text (e.g., “© 2024 Your Site Name”)
- Footer layout (columns, alignment)
- Background color or image
- Link colors and typography
Simply click on the field you want to edit and type your new content. Changes appear instantly in the preview pane.
Step 4: Publish Your Changes
Once satisfied, click the Publish button at the top of the Customizer. Your footer updates will go live immediately.
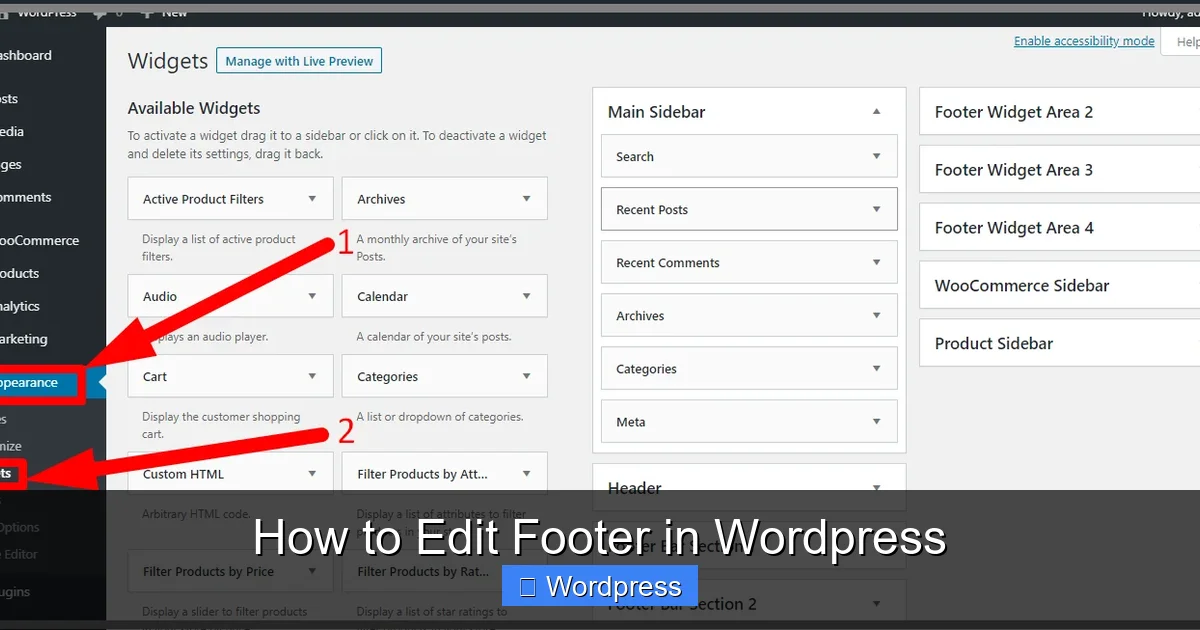
Method 2: Edit Footer via Widgets
Many themes include widget-ready footer areas. This method is perfect if you want to add dynamic content like recent posts, social icons, or contact forms.
Step 1: Go to Widgets Area
Navigate to Appearance > Widgets in your dashboard. Look for widget areas named Footer 1, Footer 2, etc.—most themes provide 1–4 footer widget zones.
Step 2: Add or Remove Widgets
Drag and drop widgets from the left panel into your desired footer area. Common choices include:
- Text Widget: Add custom HTML, copyright text, or disclaimers.
- Custom Menu: Link to important pages like About, Services, or Legal.
- Social Icons: Use plugins like Simple Social Icons or built-in options.
- Newsletter Signup: Integrate Mailchimp or Brevo forms.
Step 3: Reorder and Configure
You can rearrange widgets by dragging them up or down. Click on any widget to expand its settings—adjust titles, links, or styling as needed.
Pro Tip: Use a Footer Widget Plugin
If your theme lacks footer widgets, install a plugin like Footer Mega Grid Columns or WP Footer Builder to add flexible widget areas without coding.
Method 3: Edit Footer Using the Block Theme Editor (Full Site Editing)
If you’re using a block-based theme (like Twenty Twenty-Four), WordPress now includes a Site Editor that lets you edit footer templates visually.
Step 1: Open the Site Editor
Go to Appearance > Editor. This launches the full site editing interface.
Step 2: Select the Footer Template
In the left sidebar, click Templates, then choose Footer. You’ll see the current footer layout made up of blocks (paragraphs, buttons, images, etc.).
Step 3: Edit Blocks Directly
Click any block to edit its content. For example:
- Change text in a Paragraph block.
- Add a Button block for a “Back to Top” link.
- Insert a Social Icons block for Facebook, X (Twitter), etc.
Step 4: Save and Sync
Click Save to apply changes. Unlike the Customizer, these edits are part of your theme template and will persist across pages.
Method 4: Edit Footer via Code (Advanced)
For full control, you can edit the footer.php file in your theme. Warning: This method requires caution—always use a child theme to prevent losing changes during updates.
Step 1: Create or Use a Child Theme
If you haven’t already, set up a child theme. This ensures your customizations survive theme updates. Never edit the parent theme directly.
Step 2: Access Theme Files
Go to Appearance > Theme File Editor (or use FTP/SFTP). Navigate to wp-content/themes/your-child-theme/ and open footer.php.
Step 3: Modify the Footer Code
Look for lines like:
<div class="site-info"> © Your Site Name. All rights reserved. </div>
Replace “Your Site Name” with your actual brand. You can also add HTML, PHP, or shortcodes here.
Step 4: Add Custom CSS (Optional)
To style your footer, go to Appearance > Customize > Additional CSS and add rules like:
.site-footer {
  background-color: #2c3e50;
  color: white;
  padding: 30px 0;
}
For more on adding CSS safely, check out our guide on the best way to add CSS in WordPress.
Troubleshooting Common Footer Issues
Even with careful editing, problems can arise. Here’s how to fix the most common ones:
Footer Not Updating?
Clear your browser cache and any caching plugins (like WP Super Cache or W3 Total Cache). Sometimes old versions linger despite publishing changes.
Changes Disappeared After Theme Update?
This happens when you edited the parent theme directly. Always use a child theme to preserve custom code.
Footer Looks Broken on Mobile?
Use responsive CSS or check if your theme supports mobile footer settings. Test on multiple devices using Chrome DevTools (Ctrl+Shift+M).
Can’t Find Footer Widget Areas?
Some minimalist themes don’t include footer widgets by default. Consider switching to a more flexible theme or using a footer plugin.
Conclusion: Choose the Right Method for You
Editing your WordPress footer doesn’t have to be complicated. For most users, the Customizer or Widgets method offers enough flexibility without risk. If you’re using a modern block theme, the Site Editor provides a visual, no-code solution. Only dive into code if you need advanced functionality—and always protect your work with a child theme.
Remember: your footer is more than just fine print. It’s a chance to reinforce your brand, guide visitors, and build trust. With the steps above, you’re well-equipped to create a footer that looks great and works hard for your site.