This guide shows you how to edit footer in WordPress theme using the Customizer, widgets, page builders, or code. Whether you’re a beginner or developer, you’ll find clear steps to customize your site’s footer safely and effectively.
Key Takeaways
- Use the WordPress Customizer: Most themes allow footer editing via Appearance > Customize > Footer without touching code.
- Leverage widgets: Add text, links, social icons, or copyright info using the built-in widget system.
- Edit theme files carefully: For advanced changes, modify footer.php in a child theme to avoid losing updates.
- Use page builders: Tools like Elementor let you visually design footers with drag-and-drop ease.
- Always back up first: Prevent site crashes by backing up your site before making code changes.
- Test on mobile: Ensure your footer looks good on all devices after editing.
- Consider SEO: Keep footer links relevant and avoid overloading with unnecessary text.
How to Edit Footer in WordPress Theme
Your website’s footer is more than just a bottom strip—it’s a key part of your site’s design, branding, and user experience. Whether you want to update your copyright year, add social media links, or redesign the entire layout, knowing how to edit footer in WordPress theme is essential.
In this guide, we’ll walk you through multiple methods—from simple widget edits to advanced code changes—so you can customize your footer safely and effectively. No matter your skill level, you’ll find a method that works for you.
Method 1: Edit Footer Using the WordPress Customizer
The easiest and safest way to edit your footer is through the WordPress Customizer. This built-in tool lets you make changes in real time without touching code.
Step 1: Access the Customizer
Go to your WordPress dashboard. Navigate to Appearance > Customize. This opens the live preview editor.
Step 2: Find the Footer Section
Look for a section labeled Footer, Footer Widgets, or Site Identity. The exact name depends on your theme. Popular themes like Astra, GeneratePress, and Twenty Twenty-Four include footer settings here.
Step 3: Edit Footer Content
You can:
- Change the copyright text (e.g., from “© 2023” to “© 2024”)
- Toggle footer widget areas on or off
- Adjust layout (e.g., number of columns)
- Add background color or image
For example, in the Astra theme, go to Footer Builder under Customize to drag and drop elements like copyright, menus, or social icons.
Step 4: Publish Changes
Once you’re happy with the look, click Publish to save. Your footer updates will appear immediately on your live site.
Tip: If you don’t see footer options, your theme may not support Customizer-based footer editing. Try Method 2 or 3 instead.
Method 2: Edit Footer Using Widgets
Many WordPress themes use widget areas in the footer. This method is perfect for adding text, links, or social icons without coding.
Step 1: Go to Widgets
In your dashboard, go to Appearance > Widgets.
Step 2: Locate Footer Widget Areas
Look for areas named Footer 1, Footer 2, etc. These are the columns in your footer.
Step 3: Add or Edit Widgets
Drag widgets like:
- Text Widget: Add custom HTML, copyright notices, or disclaimers
- Custom Menu: Insert a navigation menu
- Social Icons: Link to Facebook, Instagram, etc.
- Recent Posts: Show latest blog updates
For example, to update your copyright, add a Text Widget to Footer 1 and type:
© 2024 Your Site Name. All rights reserved.
Step 4: Save and Preview
Click Save on each widget, then visit your site to see the changes.
Pro Tip: Use the Custom HTML widget if you need to add scripts or advanced formatting.
Method 3: Edit Footer Using a Page Builder (Elementor, etc.)
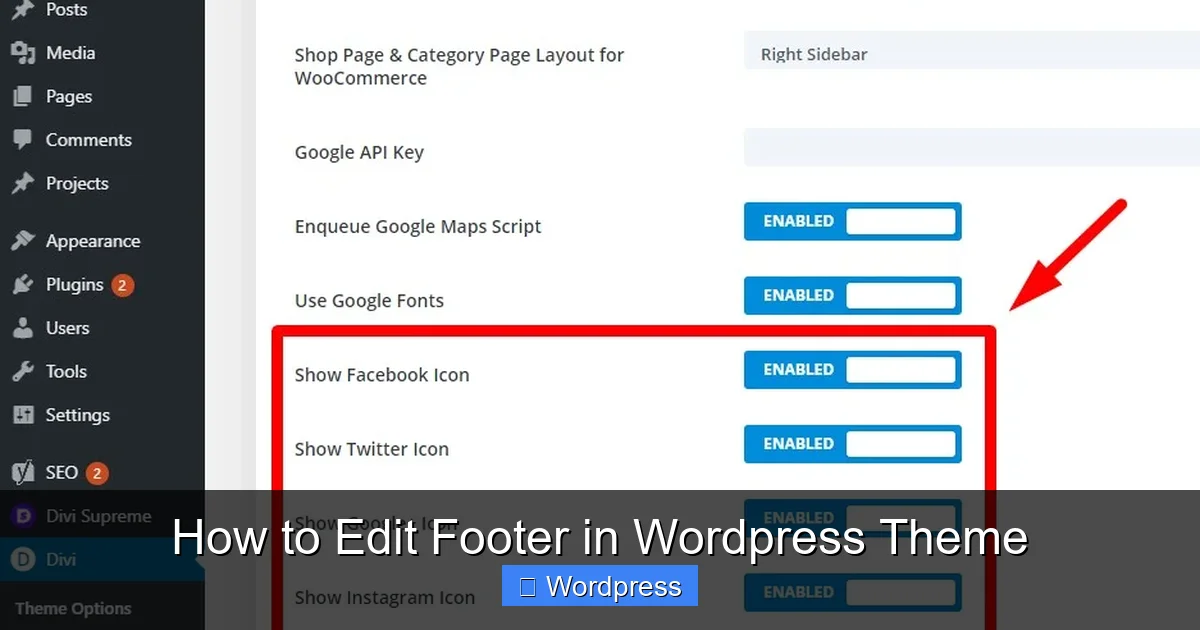
Visual guide about How to Edit Footer in WordPress Theme
Image source: learnhowwp.com
If you use a page builder like Elementor, you can design a fully custom footer with drag-and-drop tools.
Step 1: Install and Activate Elementor
If you haven’t already, install the Elementor plugin from the WordPress repository.
Step 2: Enable Theme Builder
Go to Templates > Theme Builder in Elementor. Click Add New and select Footer.
Step 3: Design Your Footer
Use Elementor’s widgets to build your footer:
- Add columns for layout
- Insert headings, text, images, or buttons
- Link to privacy policy, contact page, or social profiles
- Apply styling (fonts, colors, spacing)
You can even create multiple footer designs for different pages (e.g., homepage vs. blog).
Step 4: Assign and Publish
Set display conditions (e.g., “Entire Site”) and click Publish.
Note: This method works best with themes that support Elementor’s Theme Builder, like Hello Elementor or Astra.
Method 4: Edit Footer Using Code (Advanced)
For full control, you can edit the footer.php file directly. But proceed with caution—this method requires technical knowledge.
Step 1: Use a Child Theme
Never edit theme files directly. Instead, use a child theme to preserve changes during updates.
If you don’t have one, create a child theme or use a plugin like Child Theme Configurator.
Step 2: Locate footer.php
Go to Appearance > Theme File Editor. From the right sidebar, select footer.php under your child theme.
Alternatively, use FTP or your hosting file manager to navigate to:
/wp-content/themes/your-child-theme/footer.php
Step 3: Edit the Code
Look for the copyright line, usually near the bottom:
© Your Site Name
You can:
- Change the text
- Add links
- Insert PHP functions (e.g., dynamic year)
- Include custom HTML or shortcodes
Example: Add a privacy policy link:
© Your Site Name | Privacy Policy
Step 4: Save and Test
Save the file and refresh your site. Check for errors—broken code can crash your site.
Warning: Always back up your site before editing code. Use a plugin like UpdraftPlus for easy backups.
Method 5: Use a Footer Plugin
If you prefer a no-code solution, try a footer plugin like Footer Mega Grid or Sticky Footer.
Step 1: Install a Plugin
Go to Plugins > Add New. Search for “footer” and install a trusted plugin.
Step 2: Configure Settings
Most plugins add a new menu under Appearance or Settings. Use it to:
- Edit copyright text
- Add widgets or menus
- Enable sticky footer
- Customize colors and fonts
Step 3: Save and Preview
Apply changes and check your site on desktop and mobile.
Troubleshooting Common Footer Issues
Footer Not Updating?
Clear your cache. Use a plugin like WP Super Cache or contact your host if using server-side caching.
Changes Not Showing?
Ensure you’re editing the correct theme. If you deactivated your theme or switched themes, your footer settings may reset.
Footer Looks Broken on Mobile?
Use responsive design tools in your page builder or add custom CSS via Appearance > Customize > Additional CSS.
Example CSS to center footer text on mobile:
@media (max-width: 768px) {
  .site-footer {
    text-align: center;
  }
}
Can’t Find Footer Options?
Some themes hide footer settings. Check your theme documentation or consider switching to a more customizable theme like Astra or GeneratePress.
Best Practices for Footer Editing
- Keep it clean: Avoid clutter. Use 2–4 columns max.
- Include key links: Privacy policy, terms of service, contact page.
- Use a dynamic year:
©ensures your copyright stays current. - Optimize for SEO: Use descriptive anchor text for links.
- Test across devices: Ensure readability on phones and tablets.
Conclusion
Editing your WordPress footer doesn’t have to be complicated. Whether you use the Customizer, widgets, a page builder, or code, you now have the tools to customize your footer with confidence.
Start with the method that matches your skill level. For most users, the Customizer or widgets are the safest and fastest options. Developers can dive into footer.php for full control.
Remember: always back up your site, use a child theme for code edits, and test your changes. A well-designed footer improves user experience and strengthens your brand.
Now go ahead and give your site’s footer the update it deserves!