This guide walks you through how to edit header in WordPress Elementor using the free and Pro versions. You’ll learn to customize logos, navigation menus, colors, and responsive settings—no coding needed.
Key Takeaways
- Elementor’s Theme Builder lets you design custom headers: Use drag-and-drop tools to create unique, responsive headers without touching code.
- Headers can be edited globally or per page: Set a default header for your entire site or override it on specific pages.
- Logo and menu placement is fully customizable: Move elements around freely using Elementor’s visual editor.
- Mobile responsiveness is built-in: Adjust header layout for phones and tablets with dedicated mobile editing tools.
- No need for extra header plugins: Elementor handles everything if you’re using a compatible theme like Hello Elementor.
- Always preview changes before publishing: Test your header on different devices to ensure it looks great everywhere.
How to Edit Header in WordPress Elementor
If you’re using WordPress with Elementor, you already have one of the most powerful page-building tools at your fingertips. But did you know you can also use Elementor to design and edit your website’s header? That’s right—no more relying on rigid theme headers or clunky plugins. With Elementor’s Theme Builder (available in Elementor Pro), you can create a fully custom header that matches your brand, improves navigation, and looks great on all devices.
In this guide, we’ll show you exactly how to edit header in WordPress Elementor, whether you’re starting from scratch or tweaking an existing design. We’ll cover everything from accessing the Theme Builder to adjusting mobile layouts and troubleshooting common issues. By the end, you’ll have a professional-looking header that enhances your site’s user experience.
Prerequisites: What You Need Before Starting
Visual guide about How to Edit Header in WordPress Elementor
Image source: adazing.com
Before diving into header editing, make sure you have the following:
- Elementor Pro installed and activated: The Theme Builder feature—which allows header customization—is only available in Elementor Pro. If you’re still on the free version, consider upgrading.
- A compatible WordPress theme: While Elementor works with most themes, we recommend using the official Hello Elementor theme for best results. It’s lightweight, fast, and designed specifically for Elementor.
- Admin access to your WordPress dashboard: You’ll need to log in as an administrator to access Theme Builder settings.
If you’re using a different theme and want more control over your header, check out our guide on how to create a WordPress theme with Elementor for a deeper dive into full-site customization.
Step 1: Access Elementor’s Theme Builder
To begin editing your header, you need to open the Theme Builder interface.
Navigate to Theme Builder
- Log in to your WordPress dashboard.
- In the left sidebar, hover over Elementor and click Theme Builder.
- You’ll see sections like Header, Footer, Single Post, Archive, etc.
Create or Edit a Header Template
If you don’t already have a header template:
- Click the + Add New button next to “Header.”
- Give your header a name (e.g., “Main Site Header”) and click Create Template.
If you already have a header:
- Click on the existing header template to edit it.
- Elementor will open the visual editor in a new tab.
Step 2: Design Your Custom Header
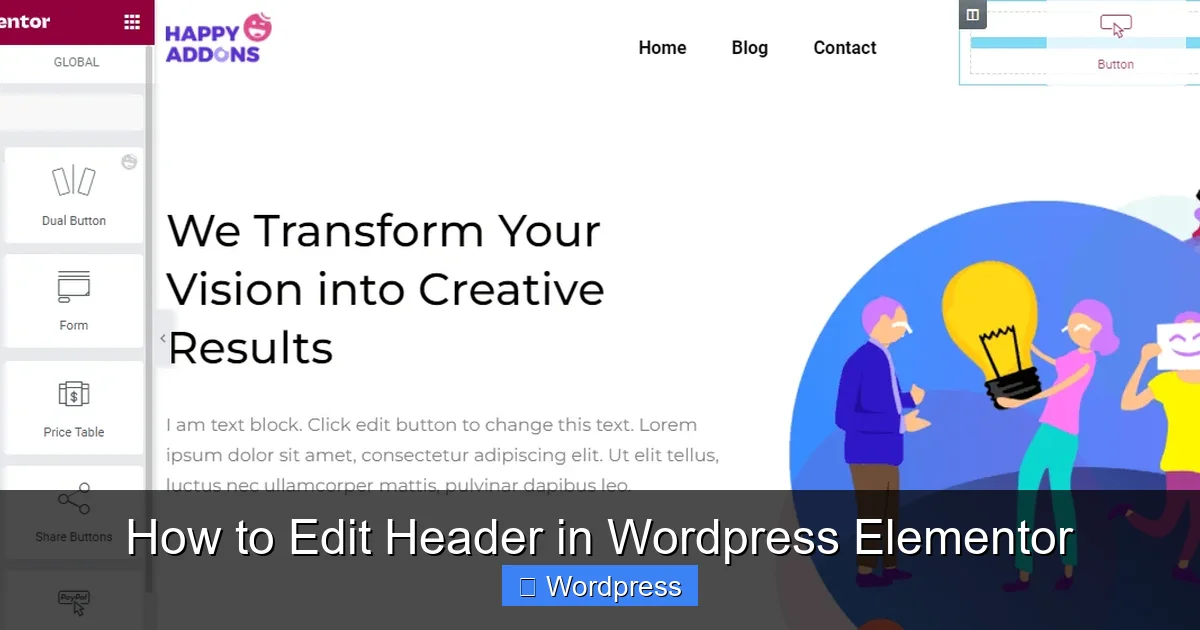
Visual guide about How to Edit Header in WordPress Elementor
Image source: happyaddons.com
Now comes the fun part—designing your header! Elementor’s drag-and-drop interface makes it easy to add and arrange elements.
Add Essential Header Elements
Start by dragging widgets from the left panel into your header canvas. Common elements include:
- Site Logo: Use the “Site Logo” widget to display your brand. Click it, then upload or select your logo from the Media Library.
- Navigation Menu: Drag the “Nav Menu” widget into place. Connect it to an existing WordPress menu (go to Appearance > Menus if you need to create one).
- Search Bar: Add a search icon or field for better usability.
- Call-to-Action Button: Include a “Button” widget for actions like “Get Started” or “Contact Us.”
Customize Layout and Styling
Once your elements are in place, customize their appearance:
- Spacing: Use the “Advanced” tab to adjust margins and padding so elements aren’t too close together.
- Colors: Change background color, text color, and link hover effects under the “Style” tab.
- Typography: Set font family, size, and weight for menu items and buttons.
- Alignment: Use flexbox controls (under “Layout”) to align items left, center, or right.
For example, you might place the logo on the left, navigation in the center, and a CTA button on the right—all within a clean, horizontal layout.
Step 3: Set Display Conditions
After designing your header, tell Elementor where it should appear.
Assign Global or Specific Rules
- In the Theme Builder, find your header template and click the Edit Conditions button (pencil icon).
- Choose Entire Site to apply it everywhere.
- Or select specific pages, posts, categories, or templates (e.g., “All Pages Except Homepage”).
This flexibility means you can have different headers for your blog, shop, or landing pages—all managed from one place.
Step 4: Optimize for Mobile Devices
A great header looks good on desktop—but it must also work on phones and tablets.
Switch to Mobile View
- In the Elementor editor, click the Responsive Mode icon (phone/tablet symbol) at the bottom left.
- Switch to Mobile or Tablet view.
Adjust Mobile Layout
Common mobile adjustments include:
- Stacking the logo above the menu instead of side-by-side.
- Hiding less important elements (like social icons).
- Using a hamburger menu for navigation to save space.
- Increasing tap targets for buttons and links.
Use the “Responsive” settings in each widget to control visibility and sizing on smaller screens.
Step 5: Save and Publish
Once you’re happy with your design:
- Click the Update or Publish button in the bottom-left corner of the editor.
- Visit your live site to see the new header in action.
Pro tip: Always clear your cache (if using a caching plugin) to ensure visitors see the latest version.
Troubleshooting Common Header Issues
Even with Elementor’s intuitive tools, you might run into a few hiccups. Here’s how to fix them:
Header Not Showing Up
- Double-check your display conditions in Theme Builder.
- Ensure your theme supports Elementor’s header override (Hello Elementor does).
- If using another theme, you may need to disable its built-in header. See our guide on how to deactivate a theme in WordPress for safe theme management tips.
Styling Conflicts with Theme
- Some themes add extra CSS that interferes with Elementor. Try adding custom CSS via Elementor’s “Custom CSS” panel or use our guide on the best way to add CSS in WordPress for clean, targeted fixes.
Mobile Menu Not Working
- Make sure the Nav Menu widget is set to “Mobile Menu” mode in responsive settings.
- Test on a real device—sometimes browser emulators don’t reflect true behavior.
Conclusion
Editing your header in WordPress with Elementor is not only possible—it’s surprisingly simple once you know where to look. By leveraging Elementor Pro’s Theme Builder, you gain complete creative control over your site’s most visible element. From branding with your logo to optimizing navigation for mobile users, every detail can be tailored to your needs.
Remember: a well-designed header improves usability, boosts credibility, and helps visitors find what they’re looking for faster. So don’t settle for the default—take a few minutes to customize yours today.
Whether you’re building a business site, portfolio, or online store, mastering header editing is a key step toward a professional WordPress presence. And if you ever need to update your theme or troubleshoot conflicts, our resources on how to update a theme on WordPress can help keep everything running smoothly.