Struggling with missing or broken ads.txt in WordPress? This guide walks you through creating, uploading, and verifying your ads.txt file to maximize ad revenue and stay compliant with ad networks like Google AdSense.
Key Takeaways
- Ads.txt is essential for ad revenue: It tells advertisers your site is authorized to sell your ad inventory, preventing fraud.
- WordPress doesn’t auto-generate ads.txt: You must manually create and upload the file to your site’s root directory.
- Use FTP or file manager for upload: Access your site via cPanel, FTP, or hosting dashboard to place the file correctly.
- Verify with Google Search Console: Confirm your ads.txt is accessible and error-free using Google’s tools.
- Keep it updated: Add new ad network entries as you partner with more platforms to maintain full monetization.
- Avoid common mistakes: Typos, wrong file location, or incorrect formatting can break your ads.txt and hurt earnings.
What Is Ads.Txt and Why Does It Matter?
If you’re running ads on your WordPress site—especially through Google AdSense—you’ve probably heard about ads.txt. But what exactly is it, and why should you care?
Ads.txt stands for “Authorized Digital Sellers.” It’s a simple text file that lists all the ad networks authorized to sell ads on your website. Think of it as a digital bouncer—only approved partners can sell your ad space, which helps prevent ad fraud and ensures you get paid fairly.
Without a properly configured ads.txt file, ad networks like Google may not serve ads to your site, or worse, they might flag your inventory as suspicious. This can directly impact your ad revenue. In fact, Google recommends all publishers use ads.txt to protect their earnings and maintain trust in the digital ad ecosystem.
Step 1: Check If You Already Have an Ads.Txt File
Before creating a new file, check if one already exists. Sometimes, themes or plugins generate it automatically—though this is rare.
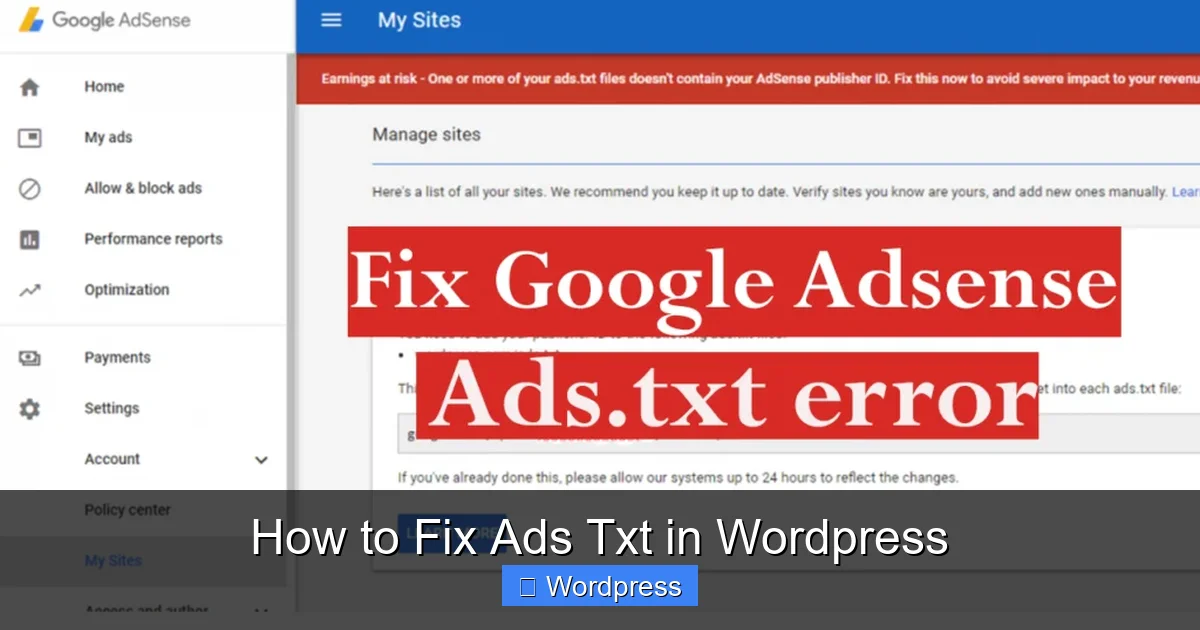
Visual guide about How to Fix Ads Txt in WordPress
Image source: deepdecide.com
How to Check
- Open your browser and go to:
https://yourwebsite.com/ads.txt - Replace “yourwebsite.com” with your actual domain.
- If you see a list of ad network entries, you already have one.
- If you get a 404 error, the file is missing and needs to be created.
Tip: Even if a file exists, review it for accuracy. Outdated or incorrect entries can still cause issues.
Step 2: Create Your Ads.Txt File
Now it’s time to create the file. You’ll need the authorization details from each ad network you work with. Here’s how to do it safely.
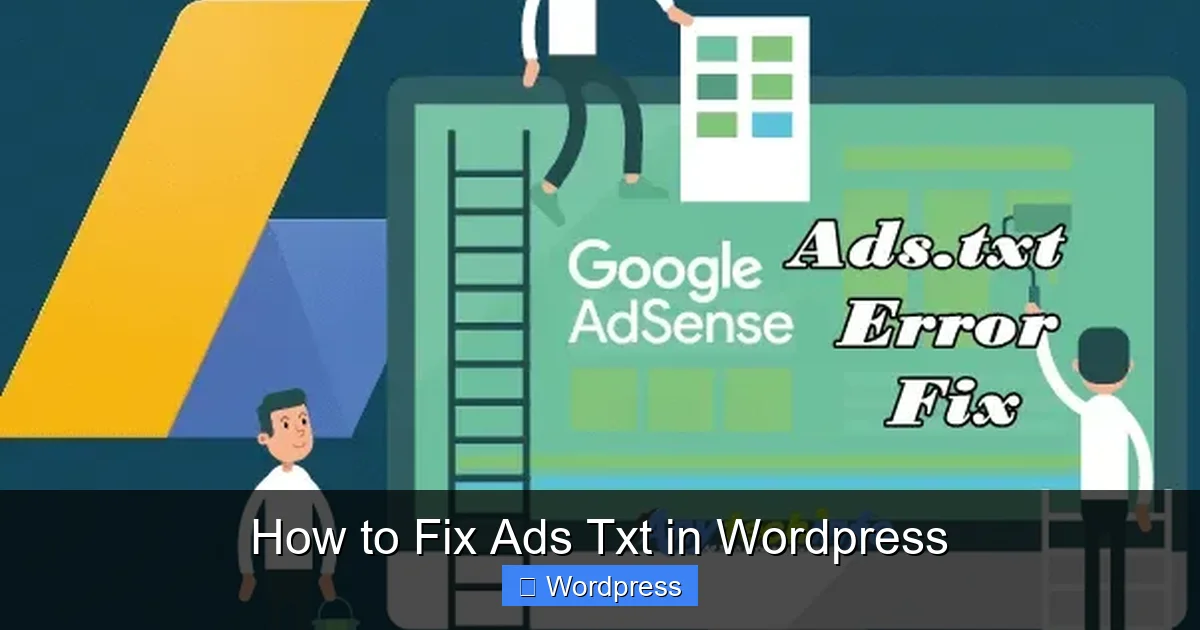
Visual guide about How to Fix Ads Txt in WordPress
Image source: ik.imagekit.io
Gather Required Information
Each ad network provides a specific line to include in your ads.txt. For example:
- Google AdSense:
google.com, pub-XXXXXXXXXXXXXXX, DIRECT, f08c47fec0942fa0 - Media.net:
media.net, XXXXXXXX, DIRECT, XXXXXXXXXXXX - AppNexus:
appnexus.com, XXXXX, RESELLER, f5ab79cb980f11d1
You’ll find these details in your ad network dashboard. If you’re unsure, check their support docs or contact support.
Create the File
- Open a plain text editor like Notepad (Windows) or TextEdit (Mac—make sure it’s in plain text mode).
- Paste your ad network entries, one per line.
- Save the file as ads.txt (no extension, just “ads.txt”).
Important: Don’t use Word or rich text editors—they add hidden formatting that breaks the file.
Step 3: Upload Ads.Txt to Your WordPress Site
WordPress doesn’t have a built-in way to upload files to the root directory, so you’ll need to use your hosting control panel or FTP.
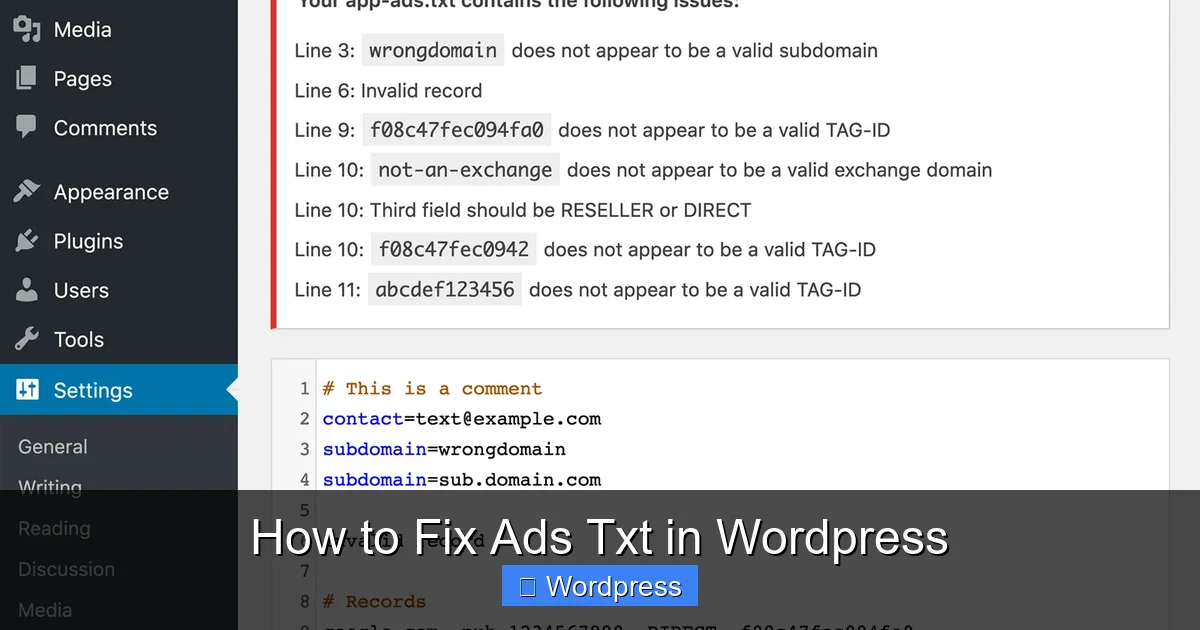
Visual guide about How to Fix Ads Txt in WordPress
Image source: res.cloudinary.com
Option A: Using cPanel File Manager
- Log in to your hosting account and open cPanel.
- Click on File Manager.
- Navigate to the public_html folder (this is your website’s root).
- Click Upload and select your ads.txt file.
- Once uploaded, refresh the page to confirm it’s there.
Option B: Using FTP
- Use an FTP client like FileZilla.
- Connect to your site using your FTP credentials (usually found in your hosting dashboard).
- Go to the public_html or www folder.
- Upload the ads.txt file directly into this folder.
Pro Tip: Avoid uploading to wp-content or theme folders—ads.txt must be in the root to work.
Step 4: Verify Your Ads.Txt File
After uploading, you need to confirm it’s accessible and correctly formatted.
Test Public Access
- Visit
https://yourwebsite.com/ads.txtin your browser. - You should see your ad network entries displayed as plain text.
- If you see a blank page or error, double-check the file location and name.
Use Google Search Console
- Go to Google Search Console.
- Select your property (website).
- Navigate to Enhancements > Ads.txt.
- Click Check status to see if Google detects your file.
- Google will show errors like “file not found” or “invalid syntax” if something’s wrong.
This step is crucial—Google uses this tool to validate your ads.txt, and fixing errors here can improve ad performance.
Step 5: Keep Your Ads.Txt Updated
Your ads.txt file isn’t a “set it and forget it” task. As you add new ad partners or change networks, you must update the file.
When to Update
- Adding a new ad network (e.g., switching from AdSense to Mediavine).
- Removing old or inactive networks.
- Receiving updated publisher IDs from your ad partners.
Example: If you start using Ezoic, you’ll need to add their line: ezoic.net, XXXXXXXX, DIRECT, XXXXXXXXXXXX
How to Update
- Download the current ads.txt from your server.
- Edit it in a text editor with the new entries.
- Re-upload it to the root directory, overwriting the old file.
Set a calendar reminder every 3–6 months to review your file. This ensures you don’t miss new opportunities or leave outdated entries that could confuse ad bots.
Troubleshooting Common Ads.Txt Issues
Even with careful setup, problems can arise. Here’s how to fix the most common ones.
404 Error When Accessing Ads.Txt
- Cause: File not in root directory or named incorrectly.
- Fix: Re-upload to public_html and ensure the filename is exactly ads.txt (not ads.txt.txt).
Google Says “Invalid Syntax”
- Cause: Typos, extra spaces, or missing commas.
- Fix: Double-check each line. Use Google’s ads.txt validator to spot errors.
Ads Still Not Showing
- Cause: File is correct, but ad network hasn’t crawled it yet.
- Fix: Wait 24–48 hours. Ad networks periodically scan sites. If issues persist, contact your ad partner.
File Keeps Getting Deleted
- Cause: Some WordPress themes or plugins overwrite root files during updates.
- Fix: Use a plugin like WP File Manager to monitor changes, or consider using a child theme to avoid conflicts. Learn more about what is a child theme in WordPress to protect your customizations.
Bonus: Use a Plugin (Optional)
If you’re uncomfortable with FTP or file managers, a plugin can simplify the process—though manual upload is still more reliable.
Recommended Plugins
- Ads.txt Manager: Lets you edit ads.txt directly from your WordPress dashboard.
- Header and Footer Scripts: Some allow file injection, but not ideal for ads.txt.
Caution: Plugins can break during updates. Always back up your site before installing new tools. For safer file management, consider best way to add CSS in WordPress website as a reference for clean code practices.
Conclusion
Fixing ads.txt in WordPress is a critical step for any site monetizing with ads. While it may seem technical at first, the process is straightforward: create the file, upload it to your root directory, and verify it works. By following this guide, you’ll protect your ad revenue, build trust with networks, and ensure your site stays compliant.
Remember, ads.txt isn’t just a Google requirement—it’s a best practice for all publishers. Whether you’re using AdSense, Mediavine, or Ezoic, a properly configured file keeps your ads running smoothly. And if you ever run into issues, revisit this guide or use Google Search Console to diagnose problems quickly.
Now that your ads.txt is set up, consider optimizing other areas of your site. For example, how to update theme on WordPress can improve performance and security, while fix broken links in WordPress without plugin ensures a smooth user experience.
Take action today—your ad revenue depends on it.