This guide shows you how to fix header in WordPress Elementor, covering common issues like broken layouts, missing menus, and mobile responsiveness. You’ll learn practical fixes using Elementor tools, custom CSS, and theme settings.
Key Takeaways
- Check Theme Compatibility: Ensure your theme supports Elementor and doesn’t override header templates.
- Use Elementor’s Header Template: Build or edit headers directly in Elementor for full control and consistency.
- Fix Mobile Responsiveness: Adjust breakpoints and use responsive controls to ensure headers look good on all devices.
- Clear Cache After Changes: Always clear site and browser cache to see updates immediately.
- Use Custom CSS Wisely: Apply targeted CSS fixes only when necessary to avoid layout conflicts.
- Verify Menu Assignments: Confirm navigation menus are assigned correctly in WordPress Appearance > Menus.
- Re-save Permalinks: If links break after header changes, re-saving permalinks often resolves routing issues.
Introduction
If your WordPress Elementor header is broken, misaligned, or not displaying correctly, you’re not alone. Many users face header issues after updates, theme changes, or plugin conflicts. The good news? Most problems are fixable with a few targeted steps. In this guide, you’ll learn how to fix header in WordPress Elementor—whether it’s a missing logo, broken menu, or layout glitch on mobile devices.
We’ll walk you through common causes, step-by-step solutions, and troubleshooting tips. By the end, you’ll have a clean, functional header that works across all devices. No coding expertise required—just clear instructions and practical advice.
Step 1: Confirm You’re Using Elementor’s Header Template
Elementor allows you to create custom headers using its Theme Builder. If your header isn’t built with Elementor, it might not respond to Elementor’s styling or settings.
Check if Your Header is Built with Elementor
- Go to Templates > Theme Builder in your WordPress dashboard.
- Look for a template labeled Header.
- If one exists, click Edit with Elementor to open it.
Create a New Header Template (If Needed)
- In Theme Builder, click Add New and select Header.
- Design your header using Elementor widgets (Logo, Nav Menu, Button, etc.).
- Set display conditions to Entire Site or specific pages.
- Save and publish the template.
Tip: If you’re new to building themes, check out our guide on how to create a WordPress theme with Elementor for a detailed walkthrough.
Step 2: Fix Header Visibility and Display Issues
If your header is missing or not showing up, it’s often due to theme conflicts or incorrect template assignments.
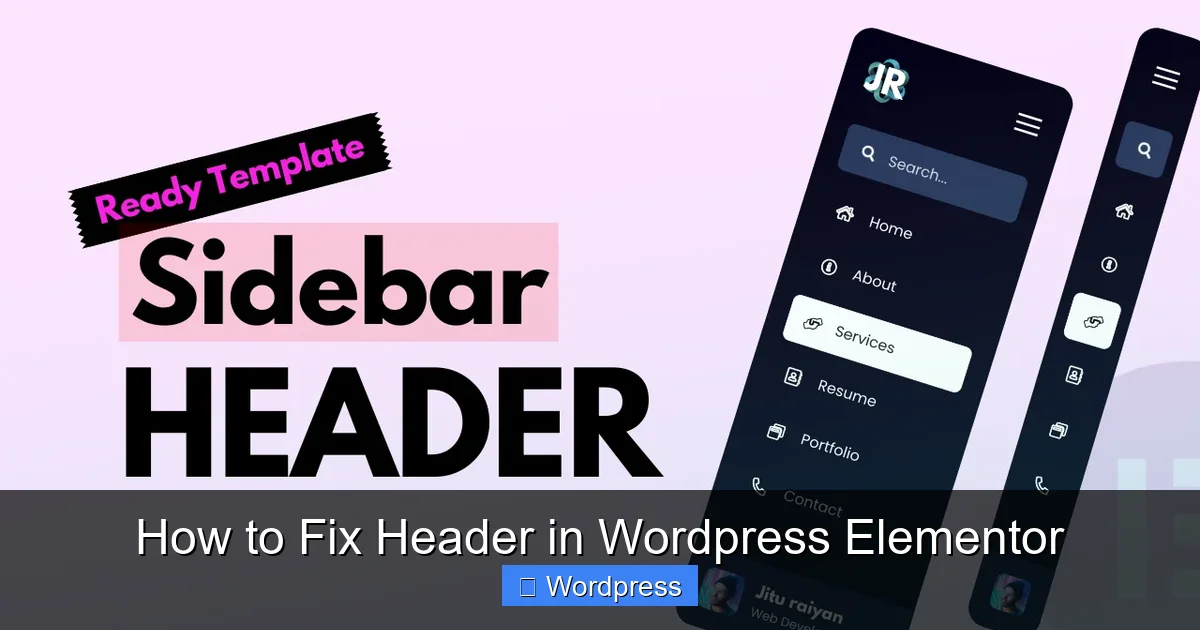
Visual guide about How to Fix Header in WordPress Elementor
Image source: templatish.com
Disable Theme Header
Some themes (like Astra, Hello, or GeneratePress) allow you to disable the default header so Elementor’s version takes over.
- Go to Appearance > Customize.
- Look for Header or Site Identity settings.
- Disable or hide the default header option.
- Save changes.
Check Template Display Conditions
- Edit your Elementor header template.
- Click the Settings icon (gear) in the panel.
- Under Display Conditions, ensure it’s set to Include > Entire Site.
- If it’s limited to specific pages, expand the conditions.
Clear Caching Plugins and Browser Cache
Cached versions of your site may still show the old header.
- Clear cache from plugins like WP Rocket, W3 Total Cache, or LiteSpeed.
- Press Ctrl + F5 (Windows) or Cmd + Shift + R (Mac) to hard-refresh your browser.
Step 3: Fix Header Alignment and Layout Problems
Headers often break when columns, widgets, or spacing aren’t aligned properly.

Visual guide about How to Fix Header in WordPress Elementor
Image source: woostify.com
Use Elementor’s Alignment Tools
- Edit your header in Elementor.
- Select the section or column containing your logo or menu.
- In the Advanced tab, adjust Horizontal Align (left, center, right).
- Use Padding and Margin to fine-tune spacing.
Check for Overlapping Elements
Widgets like search bars or buttons may overlap the menu on smaller screens.
- Switch to Responsive Mode (bottom-left icon in Elementor).
- Preview on mobile and tablet views.
- Adjust column widths or hide non-essential elements on mobile.
Use Flexbox or CSS Grid (Advanced)
For complex layouts, consider using CSS. Add this in Advanced > Custom CSS:
selector .elementor-container {
  display: flex;
  justify-content: space-between;
  align-items: center;
}
Need help with custom styles? See our guide on the best way to add CSS in WordPress.
Step 4: Fix Mobile Responsiveness Issues
Headers often break on mobile due to fixed widths, hidden menus, or incorrect breakpoints.
Enable Responsive Controls
- In Elementor, click the Responsive Mode icon.
- Switch to Tablet and Mobile views.
- Adjust font sizes, padding, and widget visibility for each device.
Use the Mobile Menu Widget
Replace desktop menus with a mobile-friendly hamburger menu.
- Add the Nav Menu widget to your header.
- In the Responsive tab, set Hide On Desktop and Show On Mobile.
- Style the toggle button and dropdown menu.
Adjust Breakpoints (If Needed)
Elementor’s default breakpoints may not suit your design.
- Go to Elementor > Settings > Style.
- Change Tablet Breakpoint (e.g., 1024px) and Mobile Breakpoint (e.g., 767px).
- Save and test on real devices.
Step 5: Fix Broken Navigation Menus
If your menu links are missing or not working, it’s usually a WordPress menu assignment issue.
Assign the Correct Menu
- Go to Appearance > Menus.
- Select your menu and assign it to the Primary or Header location.
- Save the menu.
Reconnect Menu in Elementor
- Edit your header in Elementor.
- Click the Nav Menu widget.
- Under Menu, select the correct menu from the dropdown.
- Update the template.
Re-save Permalinks
Sometimes, menu links break after permalink changes.
- Go to Settings > Permalinks.
- Click Save Changes (no need to modify settings).
- This refreshes URL routing and fixes broken links.
Troubleshooting Common Header Issues
Even with careful setup, problems can occur. Here’s how to fix the most common ones.
Header Not Sticky on Scroll
- Edit your header section in Elementor.
- Go to Advanced > Motion Effects.
- Enable Sticky and set Offset to 0.
- Choose Top as the sticky position.
Logo Not Displaying
- Check if the logo is uploaded in Appearance > Customize > Site Identity.
- In Elementor, ensure the Site Logo widget is used (not a manual image).
- Clear cache and regenerate CSS in Elementor > Tools > Regenerate CSS.
Header Overlaps Content
- Add margin-top to your first content section.
- In Elementor, select the section below the header.
- Go to Advanced > Custom Positioning.
- Set Top margin to match your header height (e.g., 80px).
White Space Above Header
- This is often caused by WordPress admin bar or theme padding.
- Add this CSS in Customizer > Additional CSS:
body.admin-bar { margin-top: 0 !important; } - Or disable the admin bar for logged-in users in Users > Your Profile.
Conclusion
Fixing a header in WordPress Elementor doesn’t have to be frustrating. By using Elementor’s Theme Builder, adjusting responsive settings, and checking menu assignments, you can resolve most issues quickly. Remember to clear your cache, test on multiple devices, and use custom CSS sparingly.
If your theme is causing conflicts, consider switching to a lightweight option like Hello Elementor. And if you’re making major changes, always back up your site first. With these steps, your header will look professional and work flawlessly across all devices.