This guide shows you how to change header in WordPress using the Customizer, theme settings, or page builders. Whether you’re updating logos, colors, or layout, we cover all methods with clear steps and tips.
Key Takeaways
- Use the WordPress Customizer: Most themes let you edit headers through Appearance > Customize without coding.
- Check your theme options: Many modern themes include dedicated header settings in their dashboard panels.
- Page builders offer full control: Tools like Elementor allow drag-and-drop header redesigns with live previews.
- Child themes protect your changes: Always use a child theme when editing header.php to avoid losing updates.
- Clear cache after changes: If your header doesn’t update, clearing your site and browser cache often fixes it.
- Backup before editing code: Never modify core files without a backup—mistakes can break your site.
- Test on mobile: Always preview your new header on phones and tablets to ensure responsiveness.
How to Change Header in WordPress: A Complete Guide
Changing the header in WordPress might sound tricky, but it’s actually quite simple—once you know where to look. The header is the top section of your website that usually contains your logo, site title, navigation menu, and sometimes a search bar or call-to-action button. Whether you want to update your branding, improve usability, or just give your site a fresh look, modifying the header is a great place to start.
In this guide, we’ll walk you through how to change header in WordPress using three main methods: the built-in WordPress Customizer, your theme’s options panel, and popular page builders like Elementor. We’ll also cover manual code edits for advanced users and include troubleshooting tips to keep your site running smoothly.
Method 1: Using the WordPress Customizer
The WordPress Customizer is the easiest and safest way to change your header—no coding required. It’s built into every WordPress installation and works with most themes.
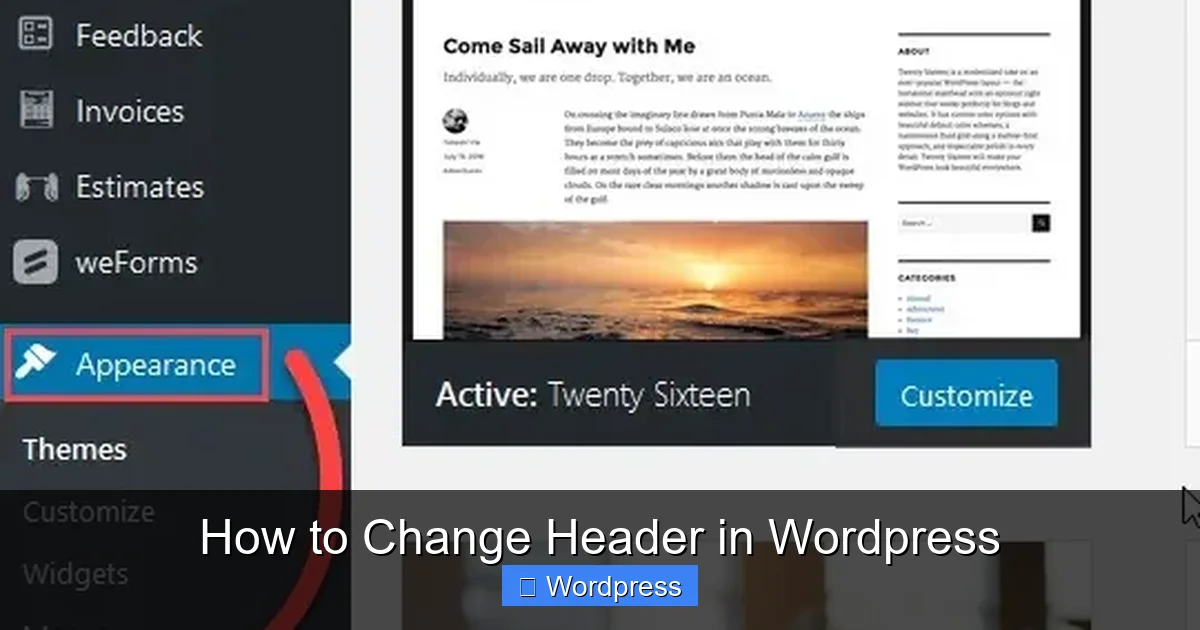
Step 1: Access the Customizer
Log in to your WordPress dashboard. Go to Appearance > Customize. This opens the live preview editor where you can see changes in real time.
Step 2: Look for Header Settings
Depending on your theme, header options may appear under different labels:
- Site Identity: Change your logo, site title, and tagline.
- Header Image or Header Media: Upload a background image for your header.
- Colors: Adjust header background and text colors.
- Menus: Edit your navigation menu location and structure.
For example, if you’re using a popular theme like Astra or GeneratePress, you’ll find detailed header controls under “Header” or “Layout” sections.
Step 3: Upload a New Logo
To replace your logo:
- Click Site Identity.
- Click Add Logo and upload your new image.
- Adjust the size using the slider if needed.
- Click Publish to save.
Tip: Use a transparent PNG for best results, and keep your logo under 200px wide for mobile-friendly display.
Step 4: Change Header Background Color
Under Colors, look for “Header Background Color.” Click the color picker and choose your desired shade. Some themes also let you add gradients or overlay effects.
Method 2: Using Your Theme’s Built-in Options
Many premium and modern free themes come with their own customization panels that go beyond the default Customizer. These often provide more granular control over header design.
Visual guide about How to Change Header in WordPress
Image source: inmotionhosting.com
Step 1: Check Your Theme Dashboard
After installing a theme like OceanWP, Neve, or Divi, look for a new menu item in your WordPress dashboard—often labeled with the theme name (e.g., “Astra Options” or “Divi Theme Options”).
Step 2: Navigate to Header Settings
Inside the theme panel, find the Header or Layout section. Here, you can typically:
- Choose between different header layouts (e.g., centered, left-aligned, sticky).
- Enable/disable elements like the search icon or shopping cart.
- Set custom padding and spacing.
- Add custom CSS for fine-tuning.
For instance, the How To Apply WordPress Theme process often reveals these advanced settings—so if you’ve recently switched themes, explore their documentation for header tips.
Step 3: Save and Preview
Always click “Save” or “Publish” after making changes. Then visit your live site to confirm everything looks good on both desktop and mobile.
Method 3: Using a Page Builder (Like Elementor)
If you’re using a page builder such as Elementor, Beaver Builder, or Divi Builder, you can create fully custom headers without touching any code.

Visual guide about How to Change Header in WordPress
Image source: inmotionhosting.com
Step 1: Enable Theme Builder (Elementor Pro)
With Elementor Pro, go to Templates > Theme Builder. Click “Add New” and select “Header.”
Step 2: Design Your Header
Use the drag-and-drop editor to add:
- Logo widget
- Navigation menu
- Social icons
- Buttons or contact info
You can set conditions so the header appears on specific pages (e.g., only on blog posts).
Step 3: Assign and Publish
Once designed, assign the header to your entire site or selected templates. Click “Publish” to activate it.
Note: If you’re new to Elementor, check out our guide on How To Create WordPress Theme With Elementor for a deeper dive into template creation.
Method 4: Editing Header.php (Advanced Users)
For full control, you can edit the header.php file directly—but only if you’re comfortable with PHP and HTML.
Step 1: Use a Child Theme
Never edit your parent theme’s files directly. Instead, create a child theme first. This ensures your changes won’t be lost when the theme updates. Learn more in our article: What Is A Child Theme In WordPress.
Step 2: Copy header.php to Your Child Theme
In your child theme folder, create a file named header.php and copy the content from the parent theme’s version.
Step 3: Make Your Changes
You can now modify the HTML structure, add custom classes, or insert new elements. For example, to add a phone number above the menu:
<div class="header-contact">Call us: (555) 123-4567</div>
Step 4: Add Custom CSS
Use the Customizer’s “Additional CSS” panel or your child theme’s style.css to style your new elements. Need help? See our guide on the Best Way To Add CSS In WordPress Website.
Troubleshooting Common Header Issues
Sometimes, your header changes don’t appear right away. Here’s how to fix common problems:
Header Not Updating?
Clear your caching plugin (like WP Super Cache or W3 Total Cache) and your browser cache. Also, check if you’re using a CDN—purge its cache too.
Mobile Header Looks Broken?
Test responsiveness using Chrome’s device toolbar (F12 > toggle device mode). Adjust padding, font sizes, or hide non-essential elements on mobile via CSS media queries.
Logo Too Big or Too Small?
Use the Customizer’s logo size slider, or add custom CSS like:
.site-logo img { max-width: 180px; height: auto; }
Changes Disappeared After Update?
This happens if you edited the parent theme directly. Always use a child theme—or consider switching to a theme with robust header customization options. If you need to revert, check out How To Set A Default Theme In WordPress for safe recovery steps.
Final Tips for a Great Header
- Keep it simple: Don’t overcrowd your header—focus on branding and navigation.
- Ensure fast loading: Optimize logo images (under 100KB) and avoid heavy scripts in the header.
- Make it accessible: Use proper contrast ratios and ARIA labels for screen readers.
- Test across browsers: Check your header in Chrome, Firefox, Safari, and Edge.
Changing your WordPress header doesn’t have to be intimidating. With the right approach—whether through the Customizer, your theme, or a page builder—you can create a professional, on-brand header that enhances user experience.