Backing up your WordPress site on IONOS is essential to protect your content, design, and data from unexpected issues. This guide walks you through multiple reliable methods, including using IONOS tools, plugins, and manual backups, so you can restore your site quickly if something goes wrong.
Key Takeaways
- Regular backups are crucial: They protect your website from data loss due to hacking, server errors, or accidental changes.
- IONOS provides built-in backup tools: Use the IONOS control panel to create and manage backups without needing technical skills.
- WordPress plugins offer extra flexibility: Tools like UpdraftPlus let you schedule automatic backups and store them in the cloud.
- Manual backups give full control: Download your files via FTP and export your database using phpMyAdmin for complete peace of mind.
- Test your backups regularly: A backup is only useful if it works—always verify you can restore your site from it.
- Store backups in multiple locations: Keep copies on your computer, cloud storage, and external drives to avoid single points of failure.
Why Backing Up Your WordPress Site on IONOS Matters
Your WordPress website is more than just a collection of pages—it’s your online presence, brand, and possibly your livelihood. Whether you run a blog, store, or business site, losing your content can be devastating. That’s why learning how to backup WordPress site IONOS is one of the most important things you can do as a website owner.
IONOS is a popular hosting provider known for its reliability and user-friendly tools. But even with strong infrastructure, things can go wrong. Server crashes, plugin conflicts, hacking attempts, or even simple human error can wipe out your site. A recent backup ensures you can restore everything quickly and minimize downtime.
In this guide, you’ll learn three proven methods to back up your WordPress site hosted on IONOS: using IONOS’s own backup tools, installing a trusted WordPress plugin, and performing a manual backup. We’ll also cover best practices and troubleshooting tips so you’re fully prepared.
Method 1: Using IONOS Built-in Backup Tools
IONOS offers a straightforward backup solution directly in its hosting control panel. This method is ideal if you prefer a no-plugin, no-hassle approach.
Visual guide about How to Backup WordPress Site Ionos
Image source: ionos.com
Step 1: Log in to Your IONOS Control Panel
Go to the IONOS website and sign in with your account credentials. Once logged in, navigate to the Hosting & Domains section and select the domain associated with your WordPress site.
Step 2: Access the Backup Manager
Look for the Backup or Backup Manager option in your hosting dashboard. Depending on your IONOS plan, this feature may be labeled slightly differently, but it’s usually clearly visible under the hosting management tools.
Step 3: Create a New Backup
Click the Create Backup button. IONOS will generate a full snapshot of your website, including files and database. This process may take a few minutes, depending on your site size.
Step 4: Download or Restore When Needed
Once the backup is ready, you can download it to your computer or restore your site directly from the panel. IONOS typically keeps multiple backup versions, so you can choose an earlier point in time if needed.
Tip: IONOS backups are convenient, but they may not be stored offsite. For extra safety, always download a copy to your local device or cloud storage.
Method 2: Using a WordPress Backup Plugin
If you want more control over scheduling, storage, and backup frequency, a WordPress plugin is the way to go. One of the most trusted options is UpdraftPlus.
Step 1: Install UpdraftPlus
Log in to your WordPress dashboard. Go to Plugins > Add New, search for “UpdraftPlus,” and click Install Now. Once installed, activate the plugin.
Step 2: Configure Backup Settings
Navigate to Settings > UpdraftPlus Backups. Here, you can choose what to include in your backup: files, database, themes, plugins, and uploads. We recommend selecting Everything for full protection.
Step 3: Choose a Remote Storage Location
To avoid storing backups on the same server as your site, connect UpdraftPlus to a cloud service like Google Drive, Dropbox, or Amazon S3. Click the Settings tab, select your preferred service, and follow the prompts to authorize access.
Step 4: Schedule Automatic Backups
Set up a regular backup schedule—daily, weekly, or monthly—depending on how often your site changes. For active blogs or stores, daily backups are ideal. Enable email notifications so you’re alerted when backups complete.
Example: A small business blog updates content twice a week. Setting a weekly backup with Google Drive storage ensures safety without overwhelming the system.
Internal Link: If you’re using a custom theme, learn how to update theme on WordPress safely without losing your design.
Method 3: Manual Backup via FTP and phpMyAdmin
For advanced users or situations where plugins aren’t an option, a manual backup gives you complete control. This method involves downloading your site files and exporting your database separately.
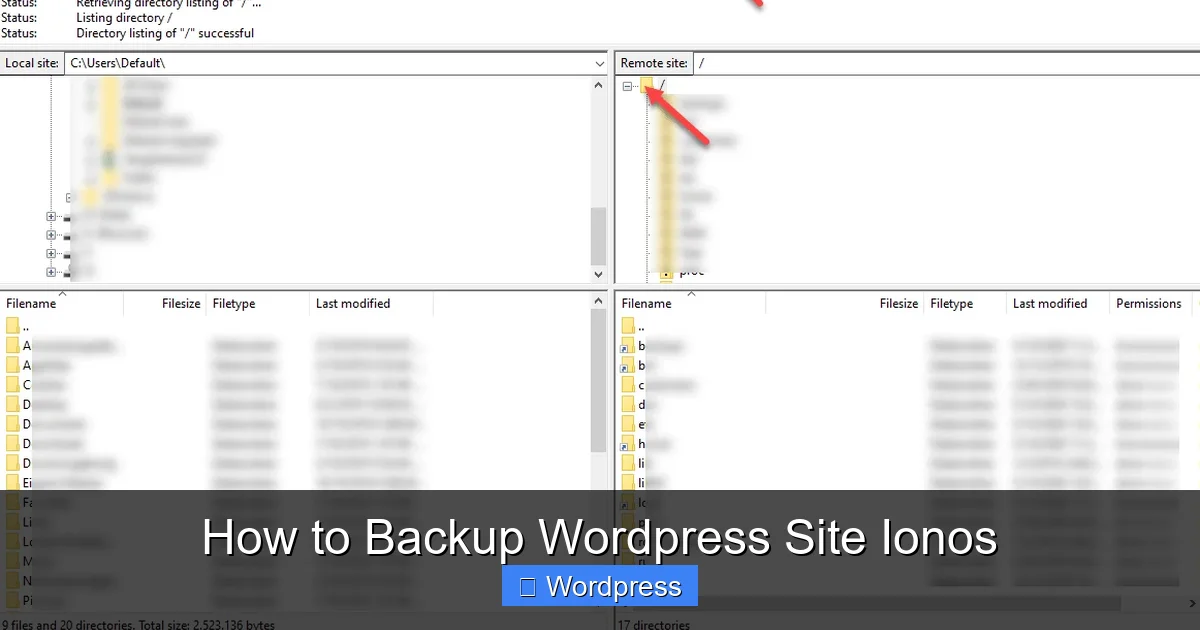
Step 1: Download WordPress Files via FTP
Use an FTP client like FileZilla to connect to your IONOS server. Enter your FTP credentials (found in your IONOS control panel under FTP Access). Once connected, navigate to the root directory (usually public_html or htdocs) and download all files to your computer.
Step 2: Export Your Database Using phpMyAdmin
In your IONOS control panel, find and open phpMyAdmin. Select your WordPress database from the left sidebar. Click the Export tab, choose Quick export method, and click Go. Save the SQL file to your computer.
Step 3: Store Files Securely
Keep your downloaded files and database export in a safe folder. Label them with the date (e.g., backup-2024-04-05) so you can easily identify them later.
Tip: Compress the files into a ZIP folder to save space and make future uploads faster.
Internal Link: If you’ve customized your site’s appearance, check out best way to add CSS in WordPress website to preserve your styles during restores.
Best Practices for WordPress Backups on IONOS
Creating backups is only half the battle—how you manage them matters just as much.
- Back up regularly: Set a schedule based on how often your site changes. Daily for active sites, weekly for static ones.
- Use multiple storage locations: Never rely on just one place. Combine IONOS backups, cloud storage, and local copies.
- Test your backups: Every few months, try restoring a backup to a test environment to ensure it works.
- Keep backups private: Avoid storing backup files in public folders or unsecured cloud accounts.
- Document your process: Write down your backup steps so you or someone else can follow them during an emergency.
Internal Link: If you’re managing multiple themes, learn how to deactivate a theme in WordPress to avoid conflicts during updates or restores.
Troubleshooting Common Backup Issues
Even with the best plans, problems can arise. Here’s how to handle common backup challenges:
Backup Fails or Times Out
Large sites may exceed server limits. Try breaking the backup into smaller parts (e.g., files only, then database) or use a plugin with chunked uploads like UpdraftPlus.
Can’t Access IONOS Backup Manager
Some IONOS plans don’t include automated backups. Check your hosting package or contact IONOS support to confirm availability. If not included, use a plugin or manual method instead.
Restored Site Shows Errors
This often happens due to incorrect file permissions or database connection issues. Double-check your wp-config.php file and ensure database credentials match your current setup.
Plugin Conflicts During Backup
Temporarily deactivate security or caching plugins before running a backup. Reactivate them once the process completes.
Conclusion
Knowing how to backup WordPress site IONOS is a vital skill that every website owner should master. Whether you use IONOS’s built-in tools, a reliable plugin like UpdraftPlus, or manual methods, the goal is the same: protect your hard work from unexpected disasters.
Don’t wait until it’s too late. Set up your first backup today, test it, and schedule regular updates. With the right approach, you’ll have peace of mind knowing your site is safe, secure, and ready to be restored at a moment’s notice.