This guide walks you through how to edit a page in WordPress, whether you’re using the modern Block Editor or the Classic Editor. You’ll learn to update text, add media, adjust layouts, and publish changes with confidence.
Key Takeaways
- Access the WordPress Dashboard: Log in and navigate to Pages to find the content you want to edit.
- Use the Block Editor (Gutenberg): Most modern WordPress sites use this drag-and-drop editor for flexible page design.
- Edit Text and Media Easily: Click any block to update text, images, buttons, or videos directly on the page.
- Preview Before Publishing: Always use the Preview button to check how your changes look on desktop and mobile.
- Update or Publish Changes: Click “Update” to save edits on existing pages or “Publish” for new ones.
- Troubleshoot Common Issues: Learn how to recover lost content or fix formatting problems.
- Customize with Plugins or CSS: Enhance editing power with tools like Elementor or custom CSS for advanced styling.
How to Edit a Page in WordPress: A Complete Step-by-Step Guide
Whether you’re updating your homepage, tweaking a blog post, or refreshing your “About Us” page, knowing how to edit a page in WordPress is essential for managing your website. WordPress makes it simple—even if you’re not a developer. In this guide, we’ll walk you through the entire process, from logging in to publishing your changes, using both the modern Block Editor and the Classic Editor.
By the end of this tutorial, you’ll be able to confidently edit any page on your WordPress site, add new content, insert images, and ensure everything looks great on all devices. Let’s get started!
Step 1: Log in to Your WordPress Dashboard
The first step to editing a page is accessing your WordPress admin area. Here’s how:
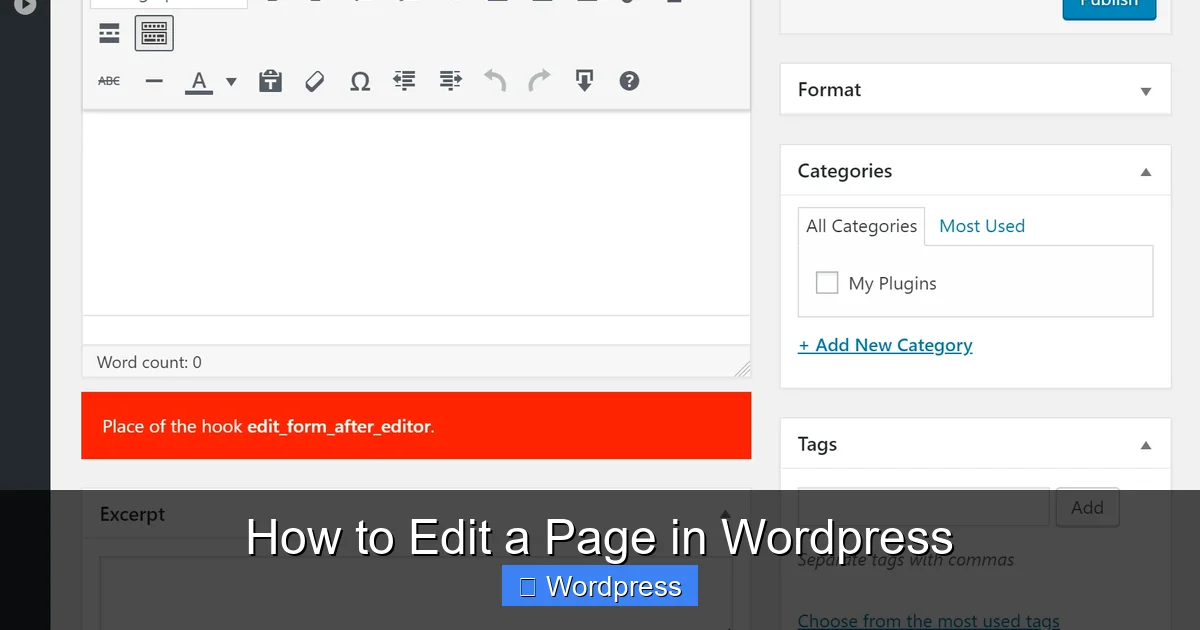
Visual guide about How to Edit a Page in WordPress
Image source: wp-kama.com
Go to Your Login Page
Open your browser and go to yoursite.com/wp-admin. Replace “yoursite.com” with your actual domain name.
Enter Your Credentials
Type in your username and password. If you’ve forgotten them, use the “Lost your password?” link to reset.
Navigate to the Dashboard
Once logged in, you’ll see the WordPress Dashboard—a control panel for managing your site. This is where all editing begins.
Step 2: Find the Page You Want to Edit
Now that you’re in the dashboard, it’s time to locate the page you want to update.
Go to the Pages Section
In the left-hand menu, click on Pages. This will show a list of all pages on your site, such as Home, About, Contact, and Services.
Search or Scroll to Find Your Page
You can scroll through the list or use the search bar at the top to find a specific page by name.
Click “Edit” Under the Page Title
Hover over the page name and click the Edit link that appears. This opens the page in the editor.
Tip: If you’re editing the homepage, make sure you’re editing the correct page. Some themes use a static front page, which you can set under Settings > Reading.
Step 3: Use the WordPress Block Editor (Gutenberg)
Most WordPress sites today use the Block Editor, also known as Gutenberg. It lets you build pages using reusable blocks like paragraphs, images, headings, and buttons.
Understand the Block Interface
When you open a page, you’ll see blocks of content. Each block is a separate element—text, image, video, etc. You can click any block to edit it.
Edit Text Blocks
Click on a paragraph block to change the text. A toolbar will appear above the block with formatting options like bold, italic, links, and alignment.
Add New Blocks
To add content, click the + button (usually in the top left or between blocks). Choose from dozens of block types: headings, images, galleries, buttons, quotes, and more.
Insert Images or Media
Click the + button and select “Image” or “Media.” Upload a new file or choose one from your Media Library. You can resize and align images directly in the editor.
Reorder or Delete Blocks
Hover over a block and use the drag handle (six dots) to move it up or down. Click the three-dot menu to duplicate, remove, or transform the block.
Pro Tip: Use the “Group” block to wrap multiple blocks together. This helps with styling and moving sections as one unit.
Step 4: Switch to the Classic Editor (If Needed)
If your site uses the Classic Editor plugin or an older theme, the editing experience will look different.
Look for the Classic Editor Interface
Instead of blocks, you’ll see a single text area with a toolbar at the top—similar to Microsoft Word.
Edit Content Directly
Click inside the editor to add or change text. Use the toolbar to format text, insert links, add images, and more.
Switch Between Visual and Text Modes
At the top right, you’ll see “Visual” and “Text” tabs. “Visual” shows formatted content; “Text” shows raw HTML. Use “Text” mode for advanced edits.
Note: The Classic Editor is no longer updated by WordPress, so consider switching to the Block Editor for better flexibility and future support.
Step 5: Preview Your Changes
Before making your edits live, always preview them.
Click the “Preview” Button
In the top right corner of the editor, click Preview. Choose “Desktop,” “Tablet,” or “Mobile” to see how your page looks on different devices.
Check for Errors
Look for broken images, misaligned text, or missing links. Make adjustments if needed.
Close the Preview
When you’re satisfied, close the preview tab and return to the editor.
Step 6: Publish or Update the Page
Once you’re happy with your changes, it’s time to make them live.
Click “Update” for Existing Pages
If you’re editing a published page, click the Update button in the top right. This saves your changes and keeps the page live.
Click “Publish” for New Pages
If you’re creating a new page, click Publish. You can also schedule it for later by clicking “Edit” next to “Publish immediately.”
Set Page Attributes (Optional)
In the right sidebar, you can set a parent page, template, or order. This is useful for organizing multi-level menus.
Step 7: Use Plugins to Enhance Editing (Optional)
For more advanced editing, consider using plugins.
Install a Page Builder
Plugins like Elementor or WPBakery offer drag-and-drop design tools. They give you more control over layout and styling.
To learn more about creating custom designs, check out our guide on how to create a WordPress theme with Elementor.
Add Custom CSS
Want to change fonts, colors, or spacing? Use the Custom CSS option in the Customizer or a plugin like “Simple Custom CSS.”
For detailed instructions, see our article on the best way to add CSS in WordPress.
Troubleshooting Common Issues
Even experienced users run into problems. Here’s how to fix common issues when editing pages.
Lost Content After Editing?
WordPress auto-saves drafts every 60 seconds. Click “Restore” in the editor to recover recent changes. You can also check the “Revisions” tab in the right sidebar.
Page Not Updating?
Clear your browser cache and WordPress cache (if using a plugin like WP Super Cache). Also, check if a plugin is conflicting—try disabling plugins one by one.
Formatting Looks Wrong?
This often happens when copying text from Word or another editor. Use the “Clear Formatting” button (usually an eraser icon) in the toolbar.
Can’t Find the Edit Button?
Make sure you have the right user role. Only Administrators and Editors can edit pages. Contact your site admin if needed.
Conclusion
Editing a page in WordPress is straightforward once you know the steps. Whether you’re using the Block Editor or Classic Editor, you can update content, add media, and improve your site’s design with ease. Always preview your changes and keep your plugins and themes updated to avoid issues.
Remember, practice makes perfect. The more you edit, the more comfortable you’ll become. And if you ever need to customize your site’s appearance further, explore themes and child themes to keep your design safe during updates.
For more tips on managing your WordPress site, check out our guide on what is a child theme in WordPress and how it protects your customizations.