Choosing the right product image size for WordPress improves site performance, SEO, and user experience. This guide covers optimal dimensions, file formats, and step-by-step setup tips to help your eCommerce store shine.
Key Takeaways
- Optimal image dimensions: Use 1200×1200 pixels for product images to ensure clarity on all devices.
- File format matters: JPEG is best for photos, while PNG works well for transparent or detailed graphics.
- Compress images: Reduce file size without losing quality using tools like TinyPNG or Smush.
- Use descriptive file names: Rename images with keywords (e.g., blue-running-shoes.jpg) for better SEO.
- Lazy loading helps: Enable lazy loading to speed up page load times and improve user experience.
- Responsive themes are key: Choose a responsive WordPress theme to ensure images scale properly on mobile and desktop.
- Alt text is essential: Always add descriptive alt text to help search engines understand your images.
Introduction
If you’re running an online store on WordPress, especially with WooCommerce, one of the most important factors for success is how your products look. High-quality, properly sized product images can make or break a sale. But what exactly is a good size product image in WordPress? And how do you optimize it for both speed and visual appeal?
In this guide, you’ll learn the ideal dimensions, file formats, and best practices for uploading product images to your WordPress site. Whether you’re a beginner or a seasoned developer, these tips will help you improve your site’s performance, SEO, and conversion rates.
Why Image Size Matters in WordPress
Large, unoptimized images slow down your website, which can hurt your search engine rankings and frustrate visitors. On the other hand, images that are too small look pixelated and unprofessional. Finding the right balance is crucial.
WordPress automatically generates multiple image sizes (thumbnail, medium, large) when you upload a file. However, these defaults may not be ideal for product displays. That’s why understanding and customizing image sizes is essential for eCommerce success.
Recommended Product Image Dimensions
The best size for product images in WordPress is 1200 x 1200 pixels. This size works well for most themes and plugins, including WooCommerce. It provides high resolution for zoom features while keeping file sizes manageable.
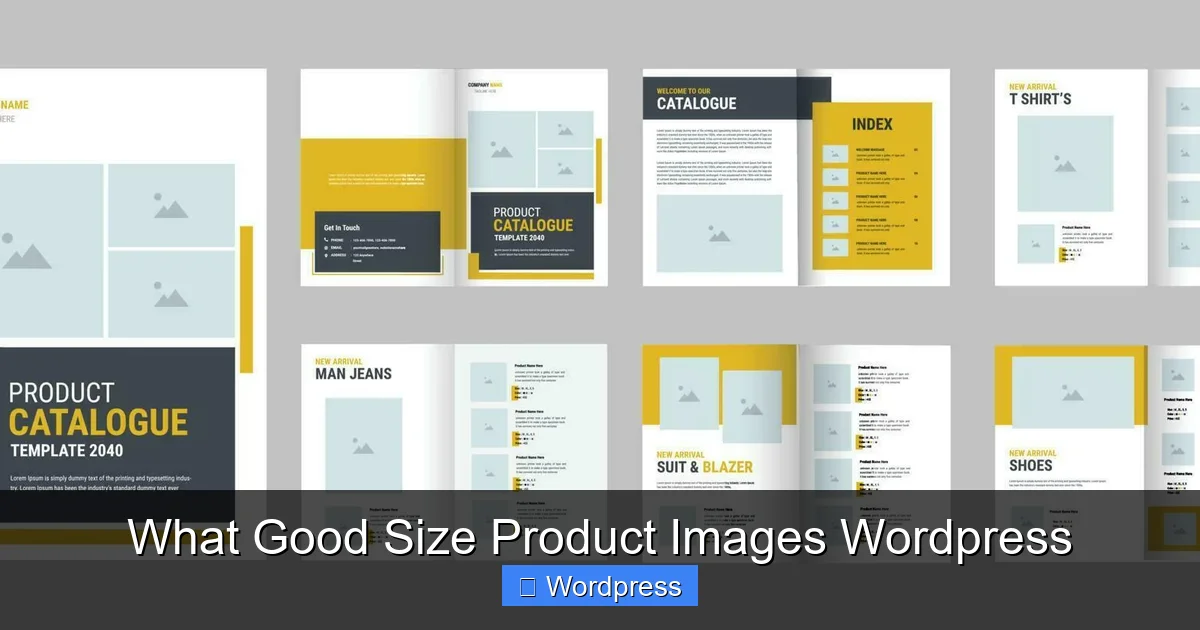
Visual guide about What Good Size Product Images WordPress
Image source: static.vecteezy.com
Why 1200×1200?
- It supports high-DPI (retina) screens without appearing blurry.
- It allows for zoom functionality on product pages.
- It fits well in most responsive layouts.
- It’s large enough for cropping into smaller thumbnails without quality loss.
Other Common Sizes
- Thumbnail: 300 x 300 pixels (used in product grids)
- Catalog: 600 x 600 pixels (used in category pages)
- Single Product: 1200 x 1200 pixels (main product image)
Most modern WordPress themes, especially those designed for eCommerce, are built to handle these sizes efficiently. If you’re using a responsive WordPress theme, images will automatically adjust to fit different screen sizes.
Choosing the Right File Format
Not all image formats are created equal. Here’s a quick breakdown:
JPEG
Best for product photos with lots of colors and gradients. JPEG files are smaller in size, which helps with loading speed. Use this format for most product images.
PNG
Ideal for images with transparency or sharp edges, like logos or graphics. PNG files are larger but offer better quality. Use sparingly to avoid slowing down your site.
WebP
A modern format that offers superior compression and quality. WebP files are up to 30% smaller than JPEGs. Many WordPress plugins now support WebP, making it a great choice for faster loading times.
To use WebP, install a plugin like Smush or ShortPixel, which automatically converts your images. This is especially useful if you want to improve your site’s speed without sacrificing quality.
How to Upload and Optimize Product Images
Now that you know the ideal size and format, here’s how to upload and optimize your images in WordPress.
Step 1: Prepare Your Images
- Resize images to 1200×1200 pixels using tools like Photoshop, Canva, or free online editors.
- Compress images using tools like TinyPNG or Squoosh.
- Rename files with descriptive, keyword-rich names (e.g., red-leather-handbag.jpg).
Step 2: Upload to WordPress
- Go to Products > Add New in your WordPress dashboard.
- Click Set Product Image and upload your optimized image.
- Repeat for gallery images if needed.
Step 3: Add Alt Text
Alt text describes your image for search engines and visually impaired users. Always include relevant keywords, like “blue running shoes for men.”
Step 4: Use a Caching and Image Optimization Plugin
Plugins like Smush, ShortPixel, or EWWW Image Optimizer can automatically compress and optimize your images. They also support lazy loading, which delays image loading until the user scrolls to them.
Customizing Image Sizes in WordPress
Sometimes, the default image sizes aren’t enough. You can customize them to better fit your theme.
Method 1: Use the WordPress Customizer
- Go to Appearance > Customize > WooCommerce > Product Images.
- Set your preferred dimensions for catalog, single product, and thumbnail images.
- Click Publish to save changes.
Method 2: Add Code to functions.php
If you’re comfortable with code, you can add this snippet to your theme’s functions.php file:
add_theme_support( 'woocommerce' );
add_filter( 'woocommerce_get_image_size_single', function( $size ) {
    return array(
        'width'  => 1200,
        'height' => 1200,
        'crop'   => 1,
    );
} );
This sets the single product image size to 1200×1200 pixels. Always use a child theme when editing code to avoid losing changes during updates.
Troubleshooting Common Image Issues
Even with the best setup, you might run into problems. Here’s how to fix them.
Images Look Blurry
This usually happens when images are stretched beyond their original size. Always upload images at or above the recommended dimensions. Avoid using tiny images and letting WordPress scale them up.
Images Load Slowly
Large file sizes are the main culprit. Use compression tools and enable lazy loading. Also, consider using a fast WordPress hosting provider like SiteGround or WP Engine.
Images Don’t Appear
Check file permissions and ensure the image URL is correct. If you recently migrated your site, use a plugin like Better Search Replace to fix broken image links.
Theme Doesn’t Support Custom Sizes
Some themes override WooCommerce image settings. In this case, check your theme documentation or contact support. You may need to use CSS or a plugin to adjust image display.
Best Practices for Product Images
- Use consistent lighting and backgrounds: White backgrounds are standard for eCommerce and help products stand out.
- Show multiple angles: Include front, back, and side views in your gallery.
- Add lifestyle shots: Show the product in use to help customers visualize it.
- Avoid text overlays: They can interfere with SEO and look unprofessional on mobile.
- Update images regularly: Refresh product photos to reflect new versions or seasonal changes.
Conclusion
Choosing the right product image size for WordPress is more than just a technical detail—it’s a key part of your online store’s success. By using 1200×1200 pixel images, optimizing file formats, and following best practices, you’ll improve your site’s speed, SEO, and user experience.
Remember to compress your images, use descriptive file names and alt text, and take advantage of plugins to automate optimization. And if you’re using a custom theme, make sure it’s responsive so your images look great on all devices.
With these tips, your product images will not only look professional but also help drive more sales. Start optimizing today and watch your WordPress store grow!