Applying a WordPress theme involves more than just clicking “Activate.” It includes choosing the right theme, installing it safely, customizing its appearance, and ensuring compatibility with your content and plugins. This guide walks you through each step to help you apply a theme confidently and effectively.
Key Takeaways
- Choose a theme that fits your website’s purpose: Whether it’s a blog, business site, or online store, pick a theme designed for your niche.
- Install the theme via the WordPress dashboard or upload a ZIP file: Both methods are simple and take just a few clicks.
- Always use a child theme for customizations: This protects your changes during theme updates and prevents data loss.
- Customize using the WordPress Customizer: Adjust colors, fonts, layouts, and menus in real time without touching code.
- Test responsiveness and compatibility: Make sure your site looks great on mobile devices and works well with essential plugins.
- Back up your site before applying major changes: A backup ensures you can restore your site if something goes wrong.
- Keep your theme updated: Regular updates improve security, performance, and compatibility with the latest WordPress version.
Quick Answers to Common Questions
Can I apply a theme without losing my content?
Yes! Applying a new theme only changes the design, not your posts, pages, or media. Your content remains intact.
Do I need to back up my site before changing themes?
Absolutely. Always back up your site before making major changes. This protects you in case something goes wrong.
Can I switch themes anytime?
Yes, you can switch themes at any time from the Appearance > Themes section. Just activate the new one when ready.
Will my widgets and menus reset when I change themes?
Sometimes. Some themes support the same widget areas, but others may require you to reconfigure menus and widgets.
Can I use multiple themes on one WordPress site?
No, only one theme can be active at a time. However, you can use different themes for different parts of your site with multisite or page builders.
📑 Table of Contents
What Are the Steps in Applying a Theme?
So, you’ve decided to give your WordPress website a fresh new look—great choice! Whether you’re starting from scratch or refreshing an existing site, applying a theme is one of the most impactful changes you can make. But it’s not just about picking something pretty. A good theme affects your site’s speed, usability, SEO, and overall user experience.
In this guide, we’ll walk you through the complete process of applying a WordPress theme—step by step. From choosing the right theme to finalizing your design, we’ll cover everything you need to know. No coding required, and no stress. Let’s dive in!
Step 1: Choose the Right Theme for Your Website
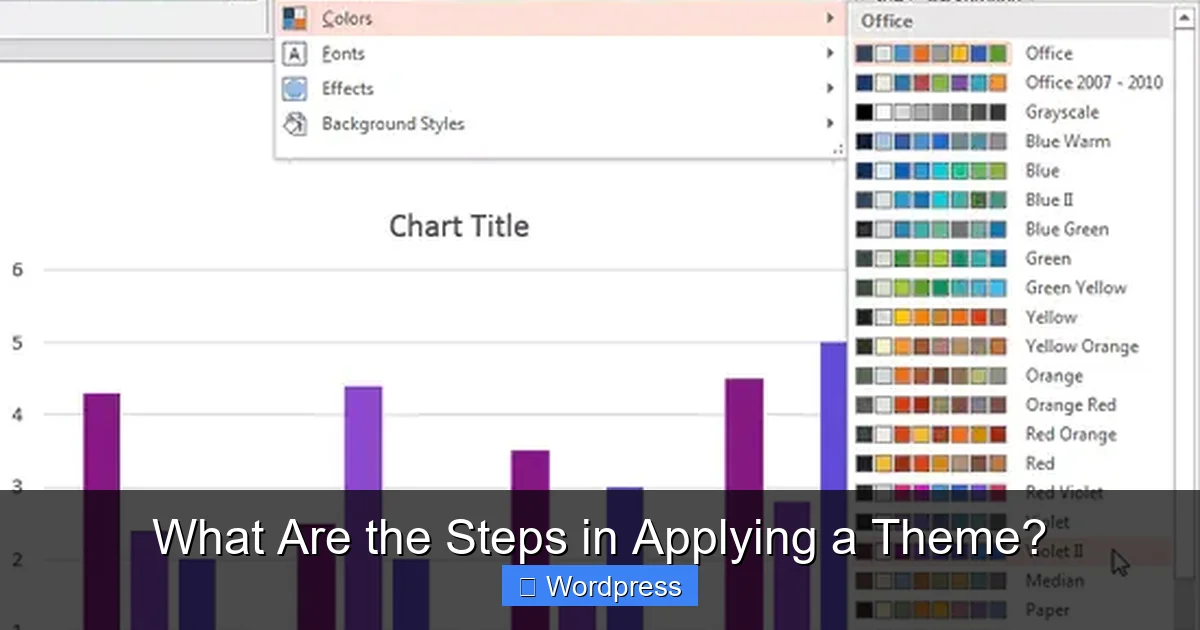
Visual guide about What Are the Steps in Applying a Theme?
Image source: img.indezine.com
Before you even think about installing anything, you need to pick a theme that matches your website’s goals. Are you building a blog, an online store, a portfolio, or a business landing page? Each type of site benefits from a different kind of theme.
For example, if you’re launching an e-commerce site, you’ll want a theme that supports WooCommerce and has built-in product display features. On the other hand, a photography portfolio might need a full-screen gallery layout and minimal distractions.
When evaluating themes, consider these factors:
- Design and layout: Does it look modern and clean?
- Responsiveness: Does it look good on mobile, tablet, and desktop?
- Customization options: Can you change colors, fonts, and layouts easily?
- Performance: Is the theme lightweight and fast-loading?
- Support and updates: Is the developer active and responsive?
You can browse thousands of free themes in the official WordPress theme directory, or purchase premium themes from marketplaces like ThemeForest, Elegant Themes, or GeneratePress. For help narrowing down your options, check out our guide on how to choose a WordPress theme.
Free vs. Premium Themes: What’s the Difference?
Free themes are a great starting point, especially for beginners. They’re vetted by WordPress and often well-coded. However, they may lack advanced features or dedicated support.
Premium themes usually offer more customization, better documentation, regular updates, and customer support. If you’re serious about your website, investing in a premium theme can save you time and headaches down the road.
Step 2: Install the Theme

Visual guide about What Are the Steps in Applying a Theme?
Image source: thumbs.dreamstime.com
Once you’ve chosen your theme, it’s time to install it. There are two main ways to do this: through the WordPress dashboard or by uploading a ZIP file.
Method 1: Install from the WordPress Dashboard
This is the easiest method for free themes available in the WordPress repository.
- Log in to your WordPress admin panel.
- Go to Appearance > Themes.
- Click Add New.
- Search for the theme by name.
- Click Install, then Activate.
That’s it! Your new theme is now active and applied to your site.
Method 2: Upload a ZIP File (For Premium or Custom Themes)
If you’ve downloaded a theme from a third-party site, you’ll need to upload it manually.
- Go to Appearance > Themes > Add New.
- Click Upload Theme.
- Choose the ZIP file from your computer and click Install Now.
- Once installed, click Activate.
If you’re unsure how to handle this process, we’ve got a detailed walkthrough in our article on how to install a WordPress theme.
Step 3: Set Up a Child Theme (Recommended)
Visual guide about What Are the Steps in Applying a Theme?
Image source: i.stack.imgur.com
Here’s a pro tip: Always use a child theme when making customizations. A child theme inherits all the functionality and styling of the parent theme but allows you to modify it safely.
Why is this important? When you update the parent theme, any changes you made directly to its files will be overwritten. A child theme preserves your custom code, CSS, and templates.
How to Create a Child Theme
Creating a child theme is easier than it sounds. Here’s a quick way:
- Create a new folder in
/wp-content/themes/(e.g.,mytheme-child). - Add a
style.cssfile with the following header:/* Theme Name: MyTheme Child Template: mytheme */
- Add a
functions.phpfile to enqueue the parent theme’s styles: - Upload the folder via FTP or your hosting file manager.
- Go to Appearance > Themes and activate your child theme.
For a full breakdown, read our guide on what is a child theme in WordPress.
Step 4: Customize Your Theme
Now comes the fun part—making your site look and feel like your own. WordPress makes this easy with the built-in Customizer.
Go to Appearance > Customize to access tools for:
- Changing site identity (logo, title, tagline)
- Setting colors and fonts
- Adjusting header and footer layouts
- Configuring menus and widgets
- Setting homepage and blog layouts
Using the WordPress Customizer
The Customizer gives you a live preview of your changes. You can tweak settings and see the results in real time before publishing. This is perfect for experimenting with different looks without breaking your site.
For example, you might change the background color to match your brand, switch to a more readable font, or reposition your navigation menu. All of this can be done with a few clicks.
Adding Custom CSS
If you need more control, you can add custom CSS in the Customizer under Additional CSS. This is where you can fine-tune spacing, animations, or unique styling that the theme doesn’t support out of the box.
For advanced users, we recommend using a plugin or the child theme’s style.css for larger CSS changes. Learn more in our article on the best way to add CSS in WordPress.
Step 5: Test and Optimize Your Site
After applying your theme, don’t just publish and walk away. Take time to test everything.
Check Responsiveness
Open your site on different devices—phone, tablet, desktop. Does it look good everywhere? Use Google’s Mobile-Friendly Test tool to check for issues.
If your theme isn’t responsive, consider switching to one that is. Most modern themes are mobile-friendly, but it’s always good to double-check. For insights, see our post on are all WordPress themes responsive.
Test Plugin Compatibility
Some themes don’t play well with certain plugins. After activating your theme, test key plugins like contact forms, SEO tools, or page builders. If something breaks, check for conflicts or consider alternatives.
Optimize Performance
A heavy theme can slow down your site. Use tools like GTmetrix or PageSpeed Insights to check load times. If your site is slow, consider optimizing images, enabling caching, or switching to a lighter theme.
Step 6: Keep Your Theme Updated
Themes receive updates for security, bug fixes, and new features. Always keep your theme up to date—but do it safely.
Before updating:
- Back up your site.
- Test the update on a staging site if possible.
- Ensure your child theme is active so customizations aren’t lost.
You can update themes directly from Dashboard > Updates. For more details, read our guide on how to upgrade a WordPress theme.
Conclusion
Applying a WordPress theme doesn’t have to be complicated. By following these steps—choosing the right theme, installing it properly, using a child theme, customizing with care, testing thoroughly, and keeping everything updated—you’ll set your website up for long-term success.
Remember, your theme is the foundation of your site’s design and functionality. Take your time, make smart choices, and don’t be afraid to experiment. With the right approach, your website can look professional, load quickly, and deliver a great experience to your visitors.
Whether you’re a beginner or a seasoned WordPress user, these steps will help you apply a theme with confidence. Happy theming!
Frequently Asked Questions
What happens to my customizations when I update a theme?
If you edited the theme files directly, your changes will be lost during an update. That’s why using a child theme is essential—it preserves your custom code.
Can I apply a theme from a ZIP file?
Yes, you can upload a ZIP file via Appearance > Themes > Add New > Upload Theme. This works for premium or custom themes not in the WordPress directory.
How do I know if a theme is compatible with my plugins?
Check the theme’s documentation or demo site. You can also test it on a staging site before going live. Most reputable themes support popular plugins.
Is it safe to use free WordPress themes?
Free themes from the official WordPress directory are safe and reviewed. Avoid nulled or pirated themes, as they may contain malware.
Can I customize a theme without coding?
Yes! The WordPress Customizer and page builders like Elementor or Gutenberg allow you to customize layouts, colors, and fonts without touching code.
What should I do if my site looks broken after applying a theme?
Switch back to a default theme like Twenty Twenty-Four. Then check for plugin conflicts or missing content. Restore from backup if needed.